How to
-
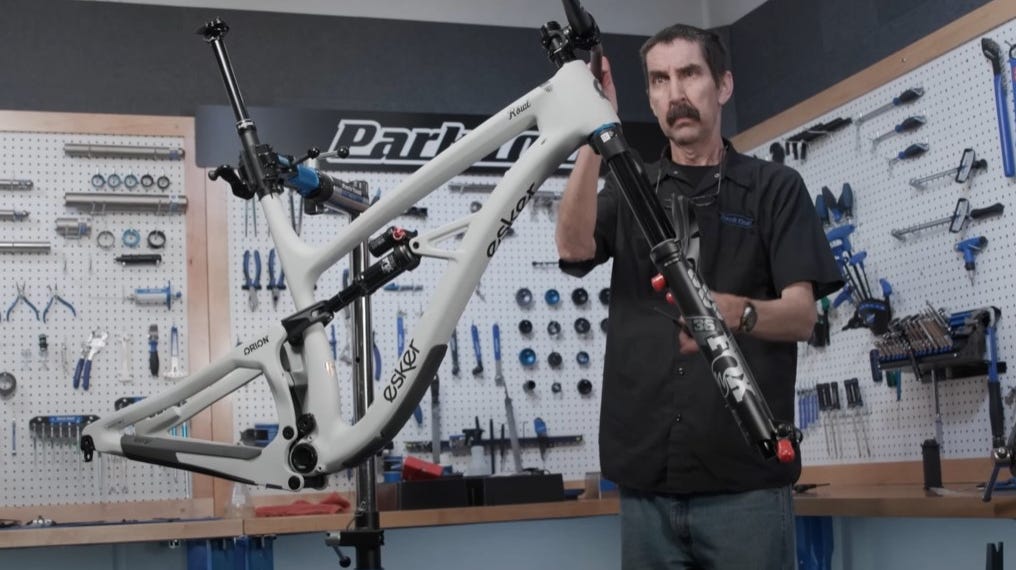
How to bleed Shimano Drop bar brakes with Park Tool.
Mar 17 2025How to bleed Shimano Road Brakes with Park Tool.When it comes to educating people on how to fix their bikes, Park Tool are the best in the buisness. Take a look at the video below and follow their step by step guide on how to bleed your Shimano drop bar brakes. Calvin is using the Park Tool BKM-1.2 - Hydraulic Brake Bleed Kit For Mineral Oil to carry out the procedure with
-
The Truth About Washing Waterproof Garments: Myths vs. Reality
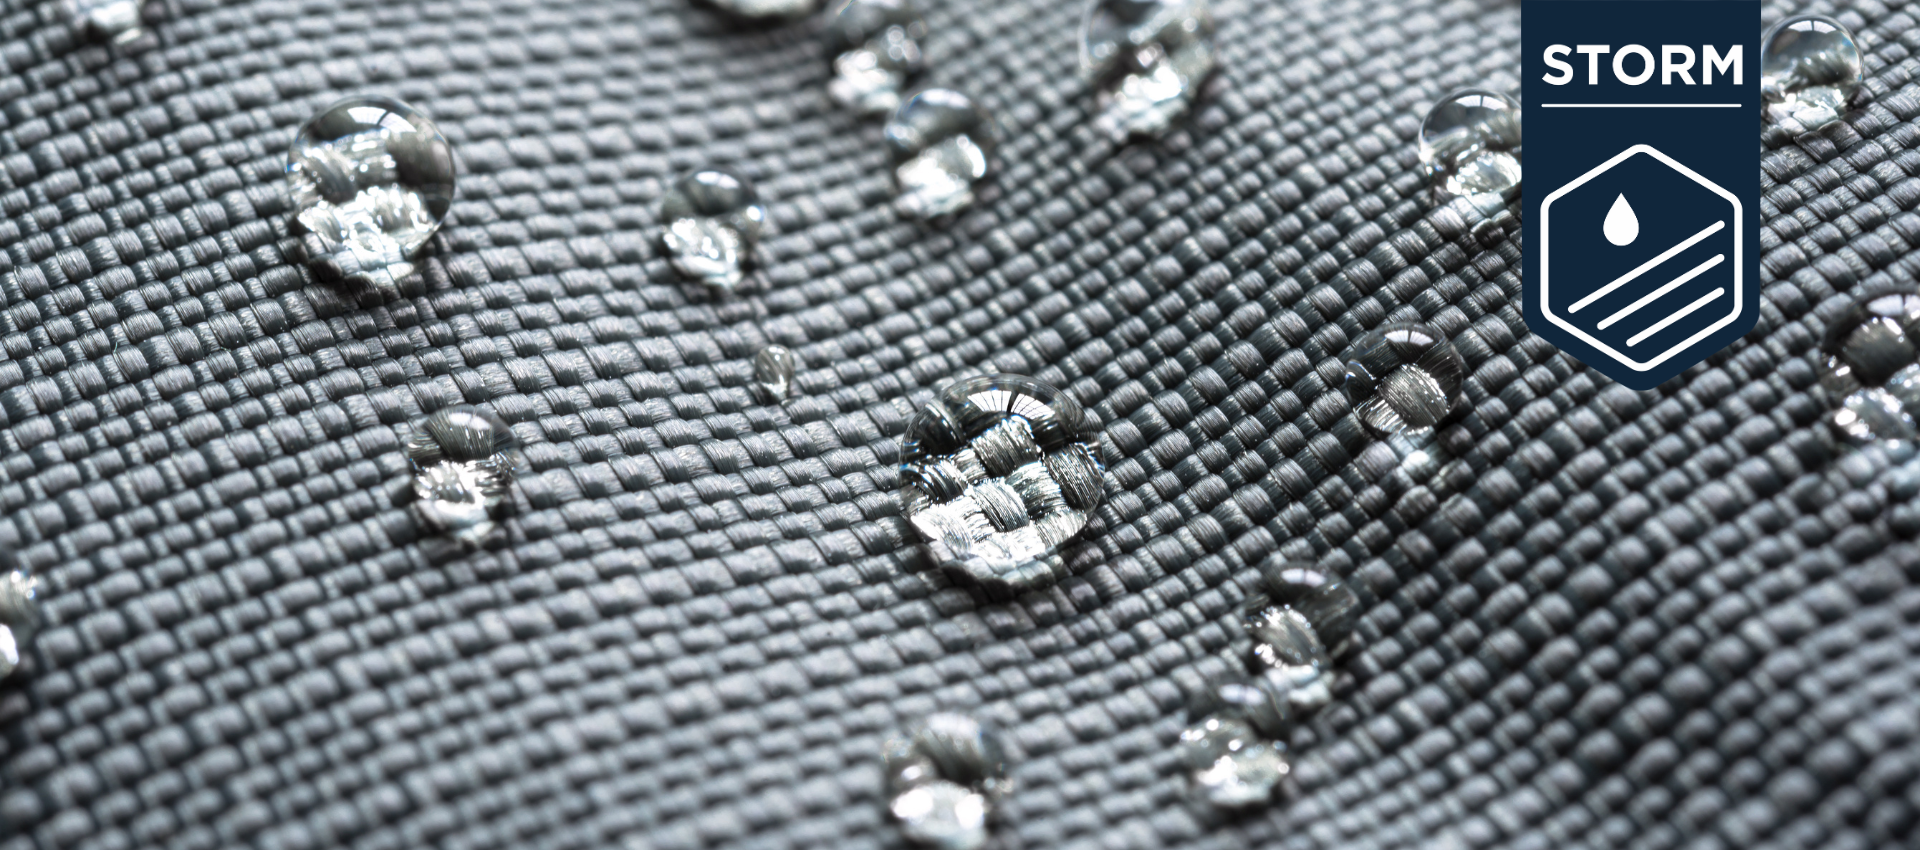
Feb 24 2025The Truth About Washing Waterproof Garments: Myths vs. RealityA lot of people believe that washing a waterproof garment ruins its ability to keep water out. But that’s not true! The key isn’t avoiding washing altogether—it’s knowing when and how to do it properly. Step 1: Do You Really Need to Wash It?Before tossing your waterproof jacket into the machine, ask yourself: Does it actually need a full wash? If it’s just a bit muddy or has trail spray on it, a simple wipe-down with a damp cloth and
-
Ultimate Bike Protection from Gtechniq
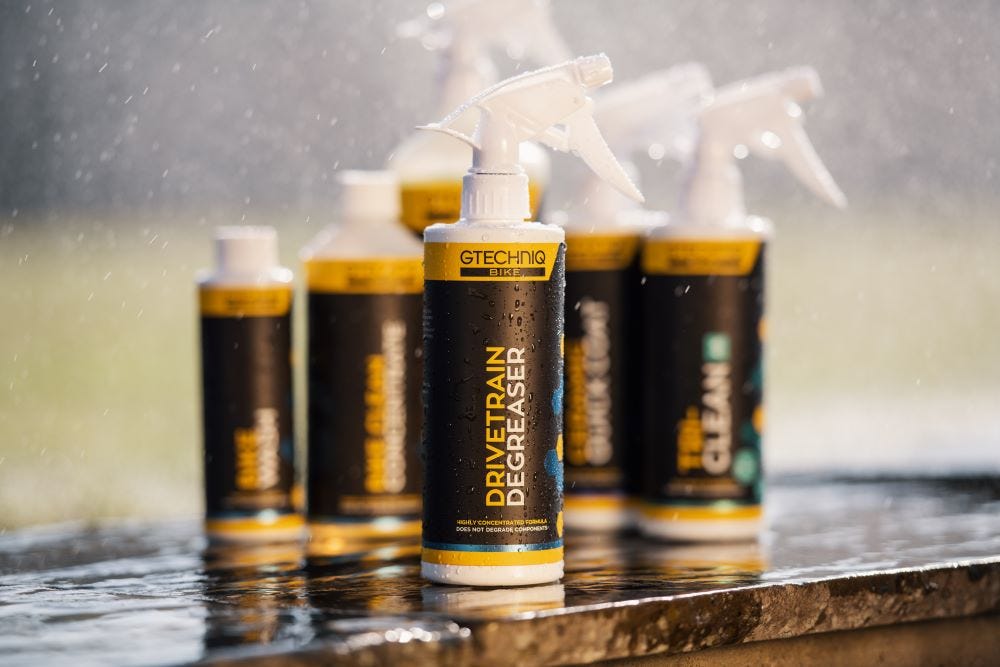
Oct 30 2024Ultimate Bike Protection from GtechniqWith over 20 years of experience protecting high-end vehicles in the automotive and marine industries, Gtechniq has become a trusted leader in surface protection. Now, Gtechniq brings its renowned smart surface technology to the cycling world, offering the same level of care and precision to bicycles. Developed in-house at Gtechniq's global headquarters in Northamptonshire, this range is tailored specifically for cyclists seeking to protect and maintain their bikes. Gtechniq’s bike care line includes:
-
How to Install Shimano SPD-SL Cleats
Jun 18 2024How to Install Shimano SPD-SL CleatsStep for installing cleats
-
Prepare for your ride with Freewheel
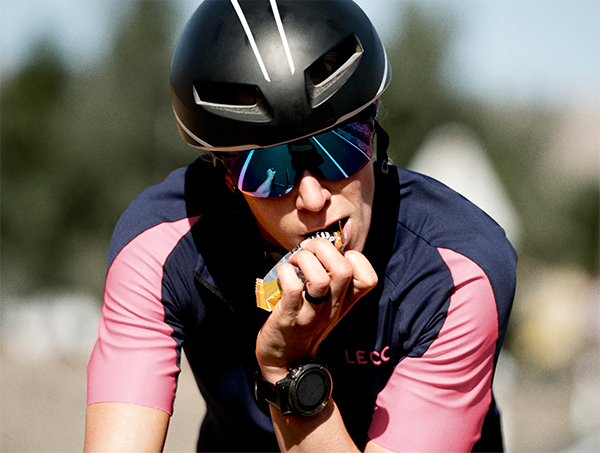
Apr 16 2024Five top tips for making sure you’re ready for your next big ride If you fail to prepare, then you should prepare to fail. Okay, that might be a bit extreme in the context of bike riding but the principle does ring true. If you have a big ride or event coming up then the best thing you can do to have a fun and stress-free experience is make sure you have everything you need. There will always be things that happen that are out of your control but if you follow our five tips below, you’ll have the best chance of navigating any mishaps
-
Things you need to know about: torque wrenches
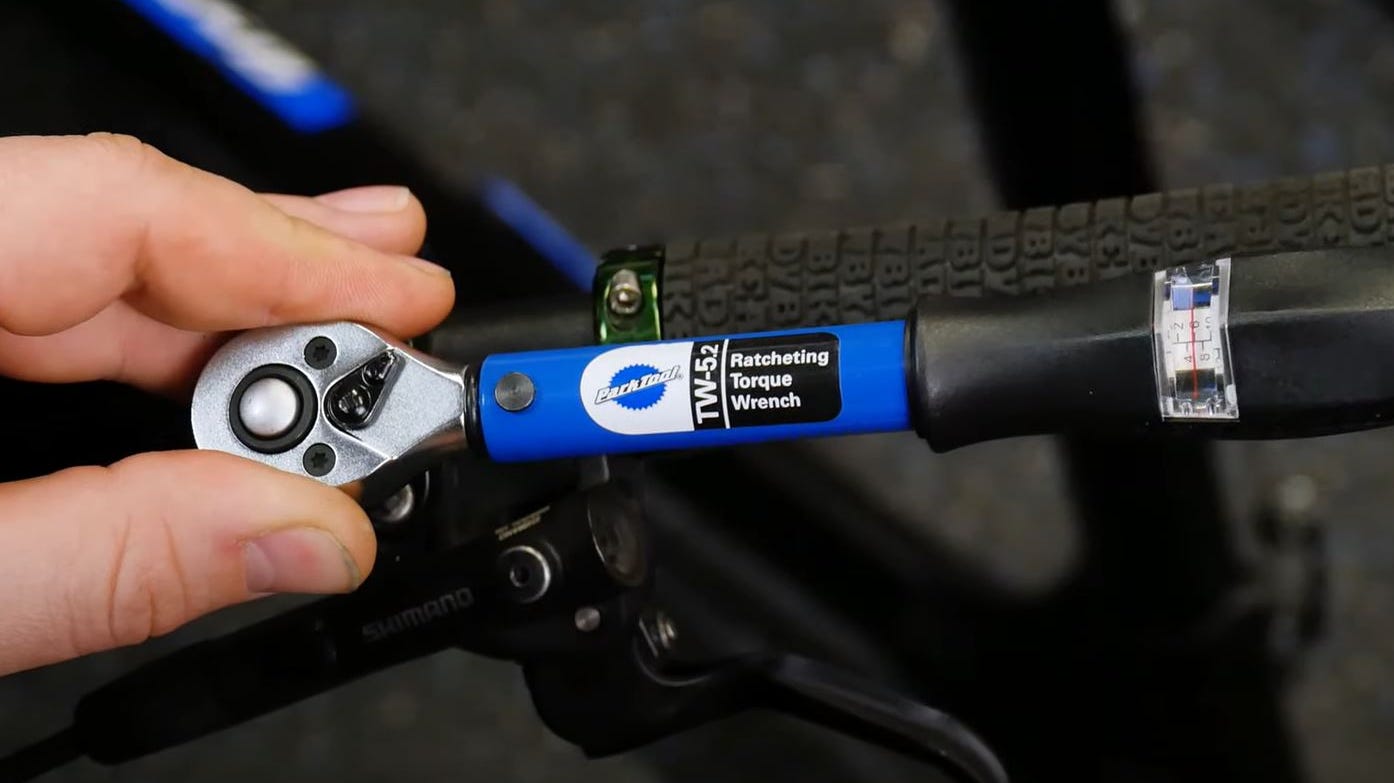
Feb 02 2024Correctly tightening different parts of the bike is very important for two sort of corresponding reasons. Firstly, you want to make sure things are tight enough so that they dont work loose while you're riding. The flip side of that is that you also don't want to tighten parts of the bike up too much and end up damaging anything. Basically, there's a fine balance between not tight enough and too tight, and that's where torque wrenches come in. Torque is a twisting force (technically a measure of the force causing something to rotate round an axis), and it's what you measure when you're tightening any bolts on your bike. You will (or should) have noticed that every bolt on a bike has a torque rating that the manufacturer recommends and it's important to make sure that those bolts are tightened to within that range. For example, Shimano Hollowtech II cranksets have two fixing bolts on the non-drive side, and those are meant to be between 12-14Nm (that's Newton metres).
-
Check out this lovely gravel bike build from Park Tool
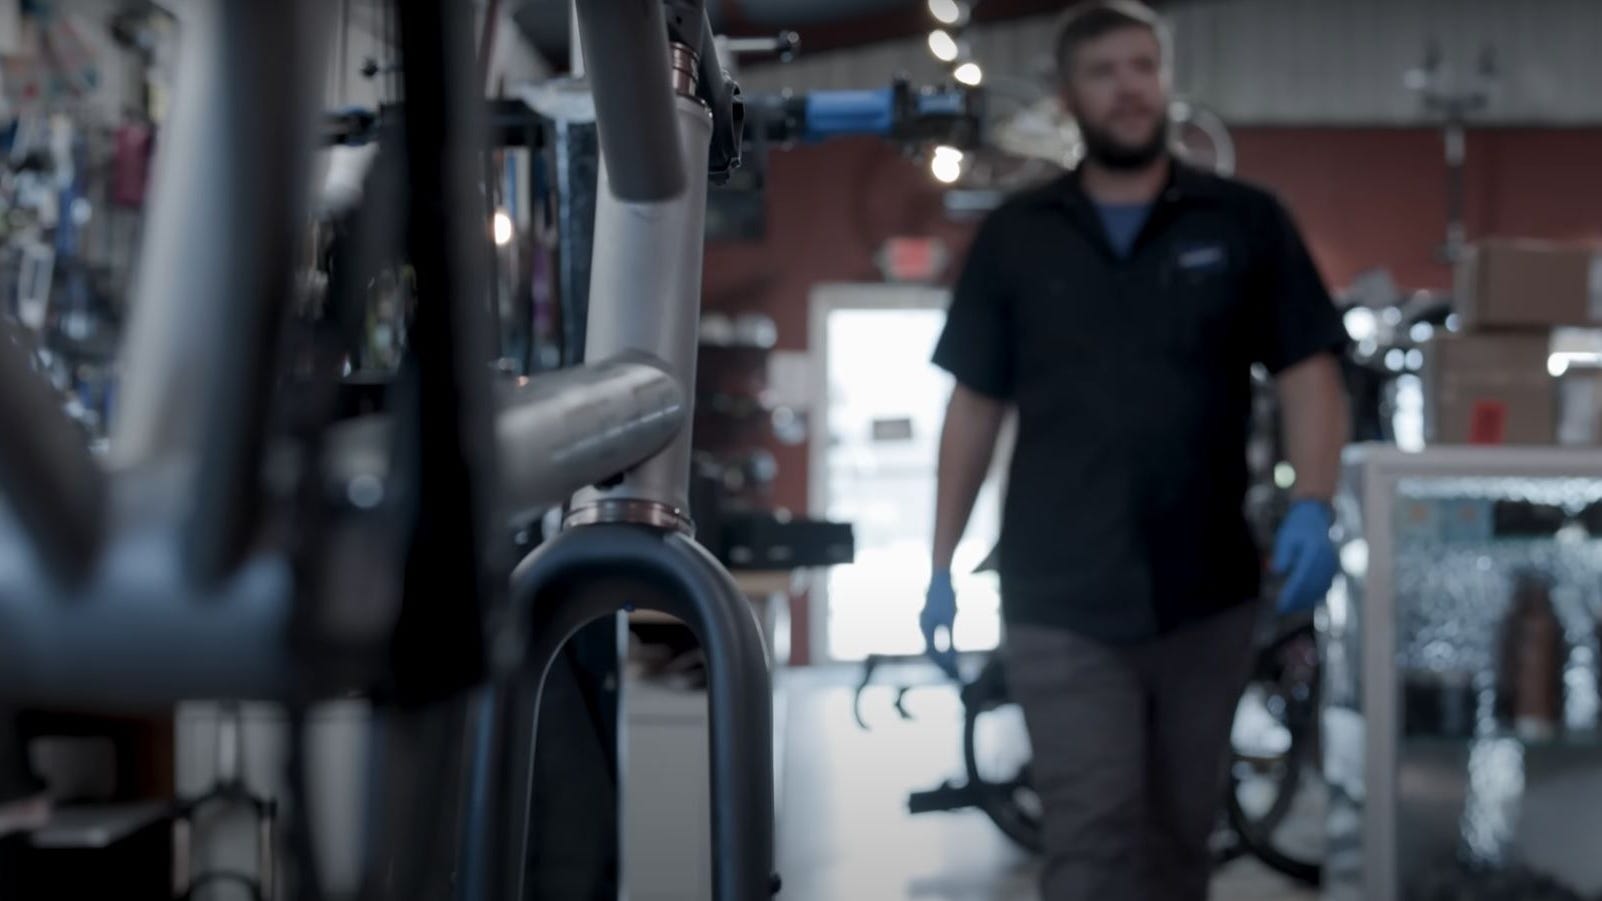
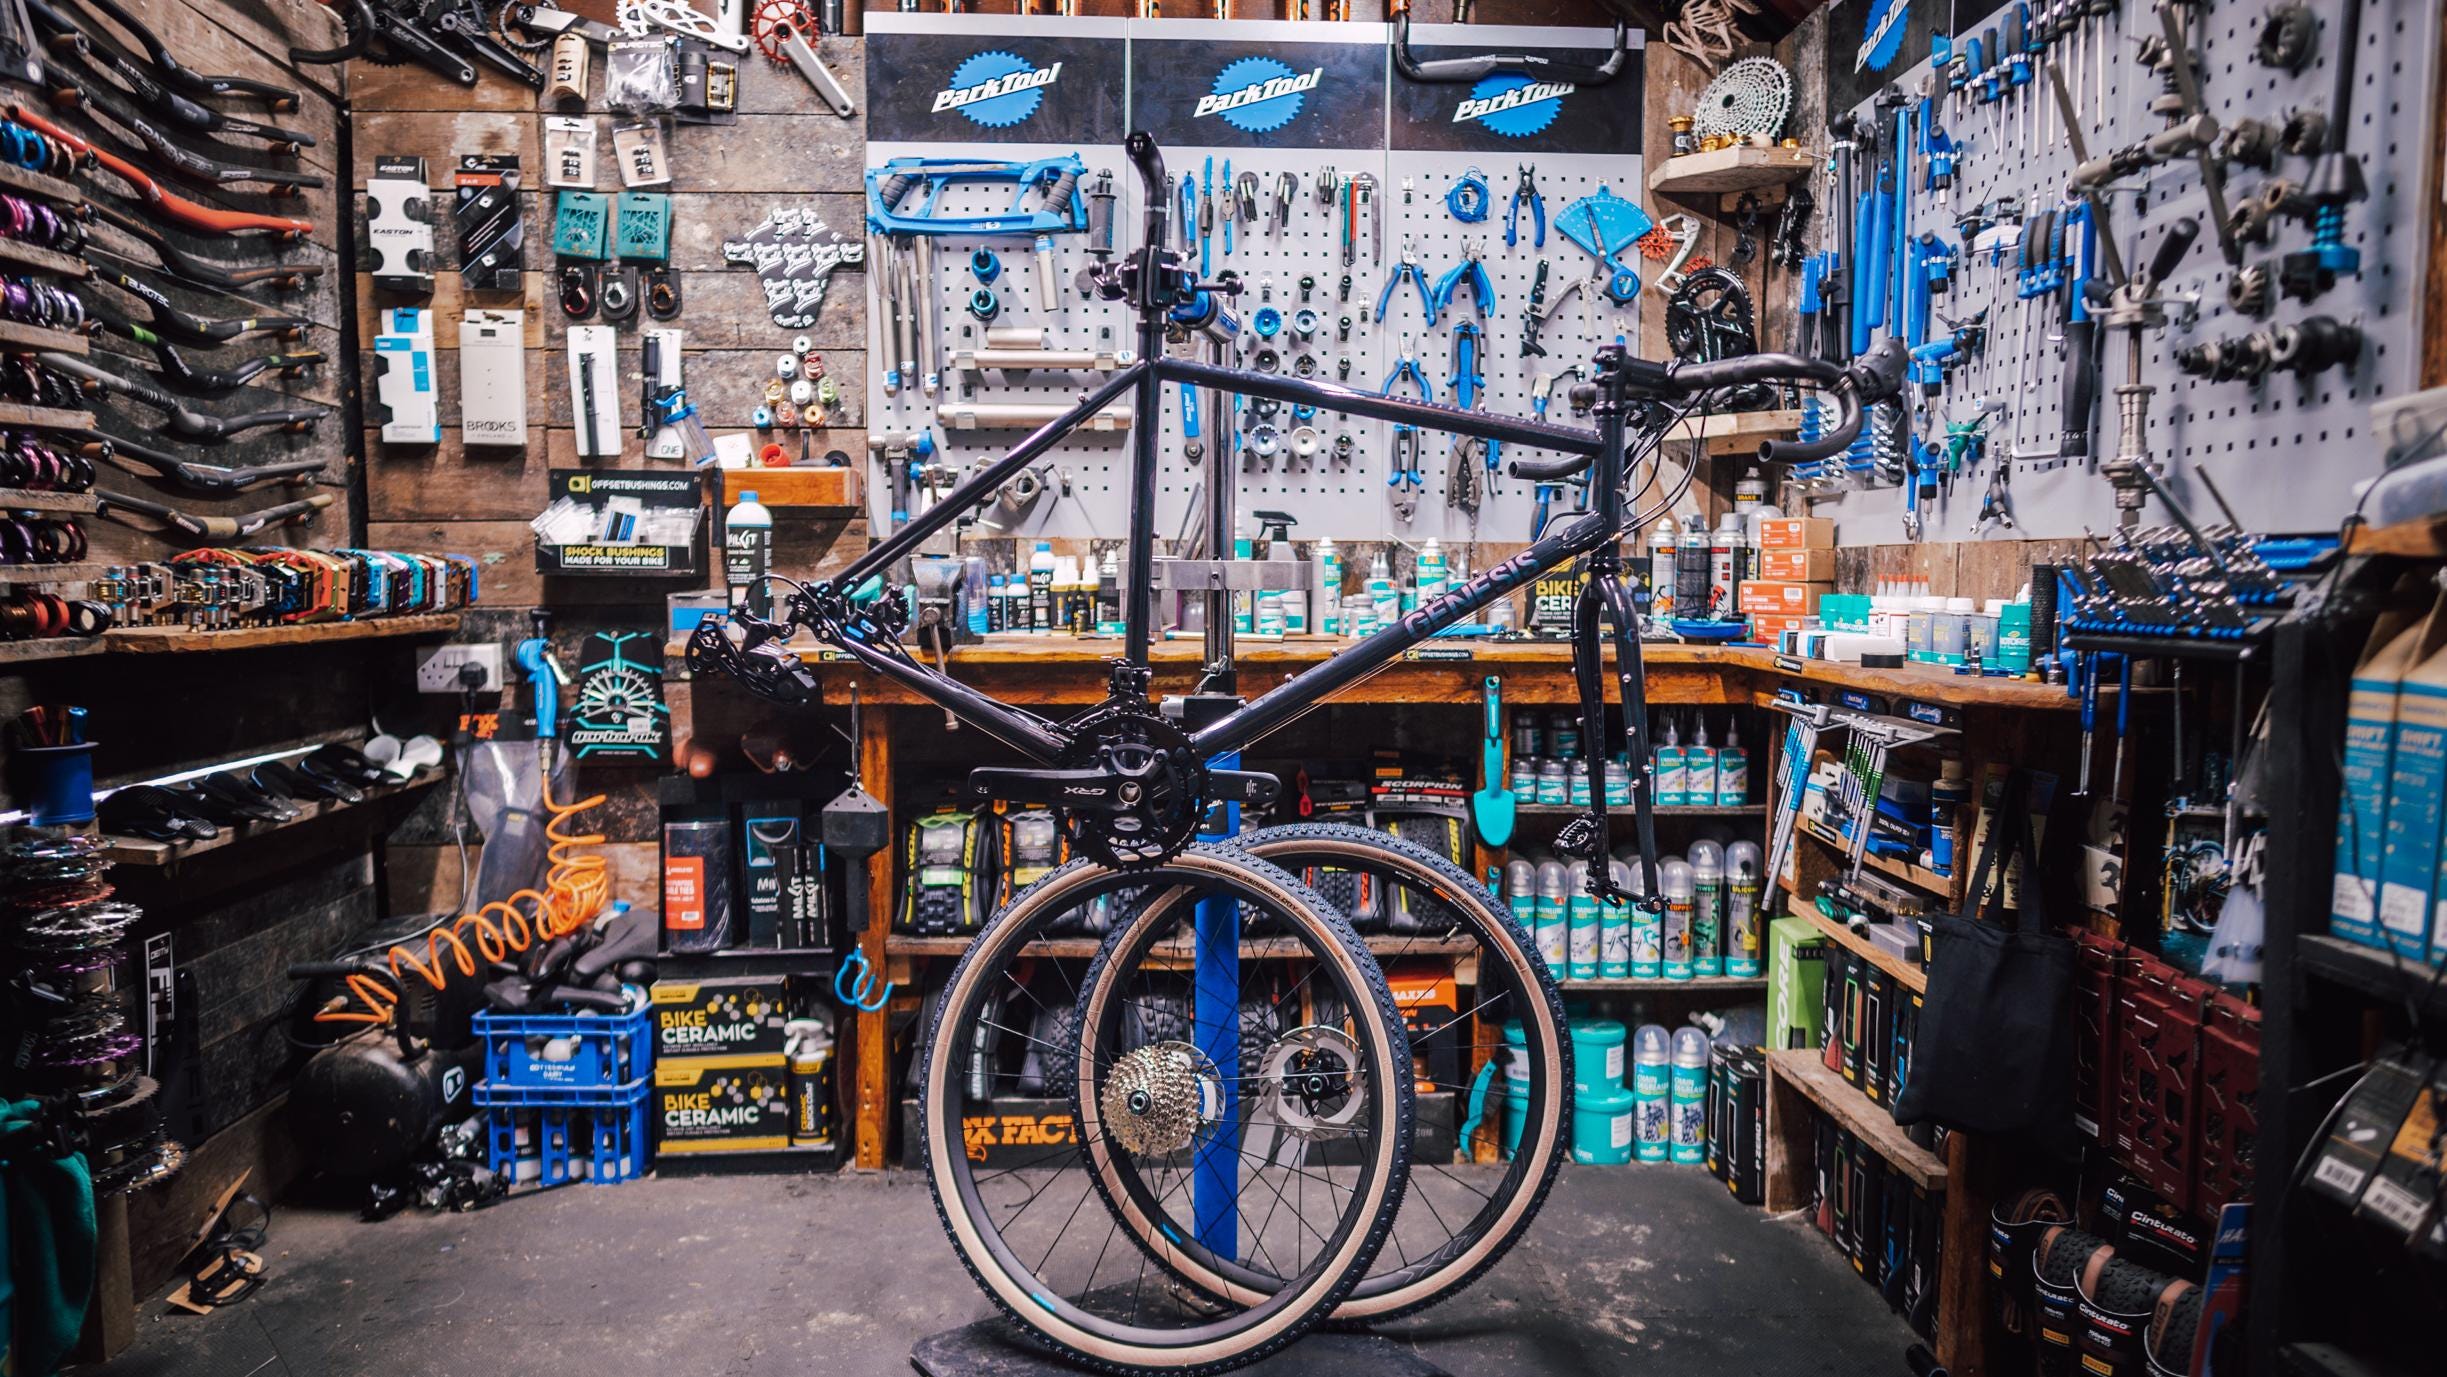
Jan 17 2024If you had to pick one thing that the guys and girls from Park Tool are pretty good at, it would probably be building bikes. A bike tool brand being good with bikes is as expected as water being wet. But still, it's always very satisfying to watch someone who's really good at what they do doing it really well. That someone here is Truman from Park Tool, who's building a very nice gravel bike in what looks like a very nice workshop. It also includes a bit of head tube and bottom bracket facing, which definitely isn't something you see every day now that the vast majority of mid- to high-end bikes are carbon. So sit back, relax and watch as a build comes together...
-
Everything you need to beat the winter weather by riding indoors
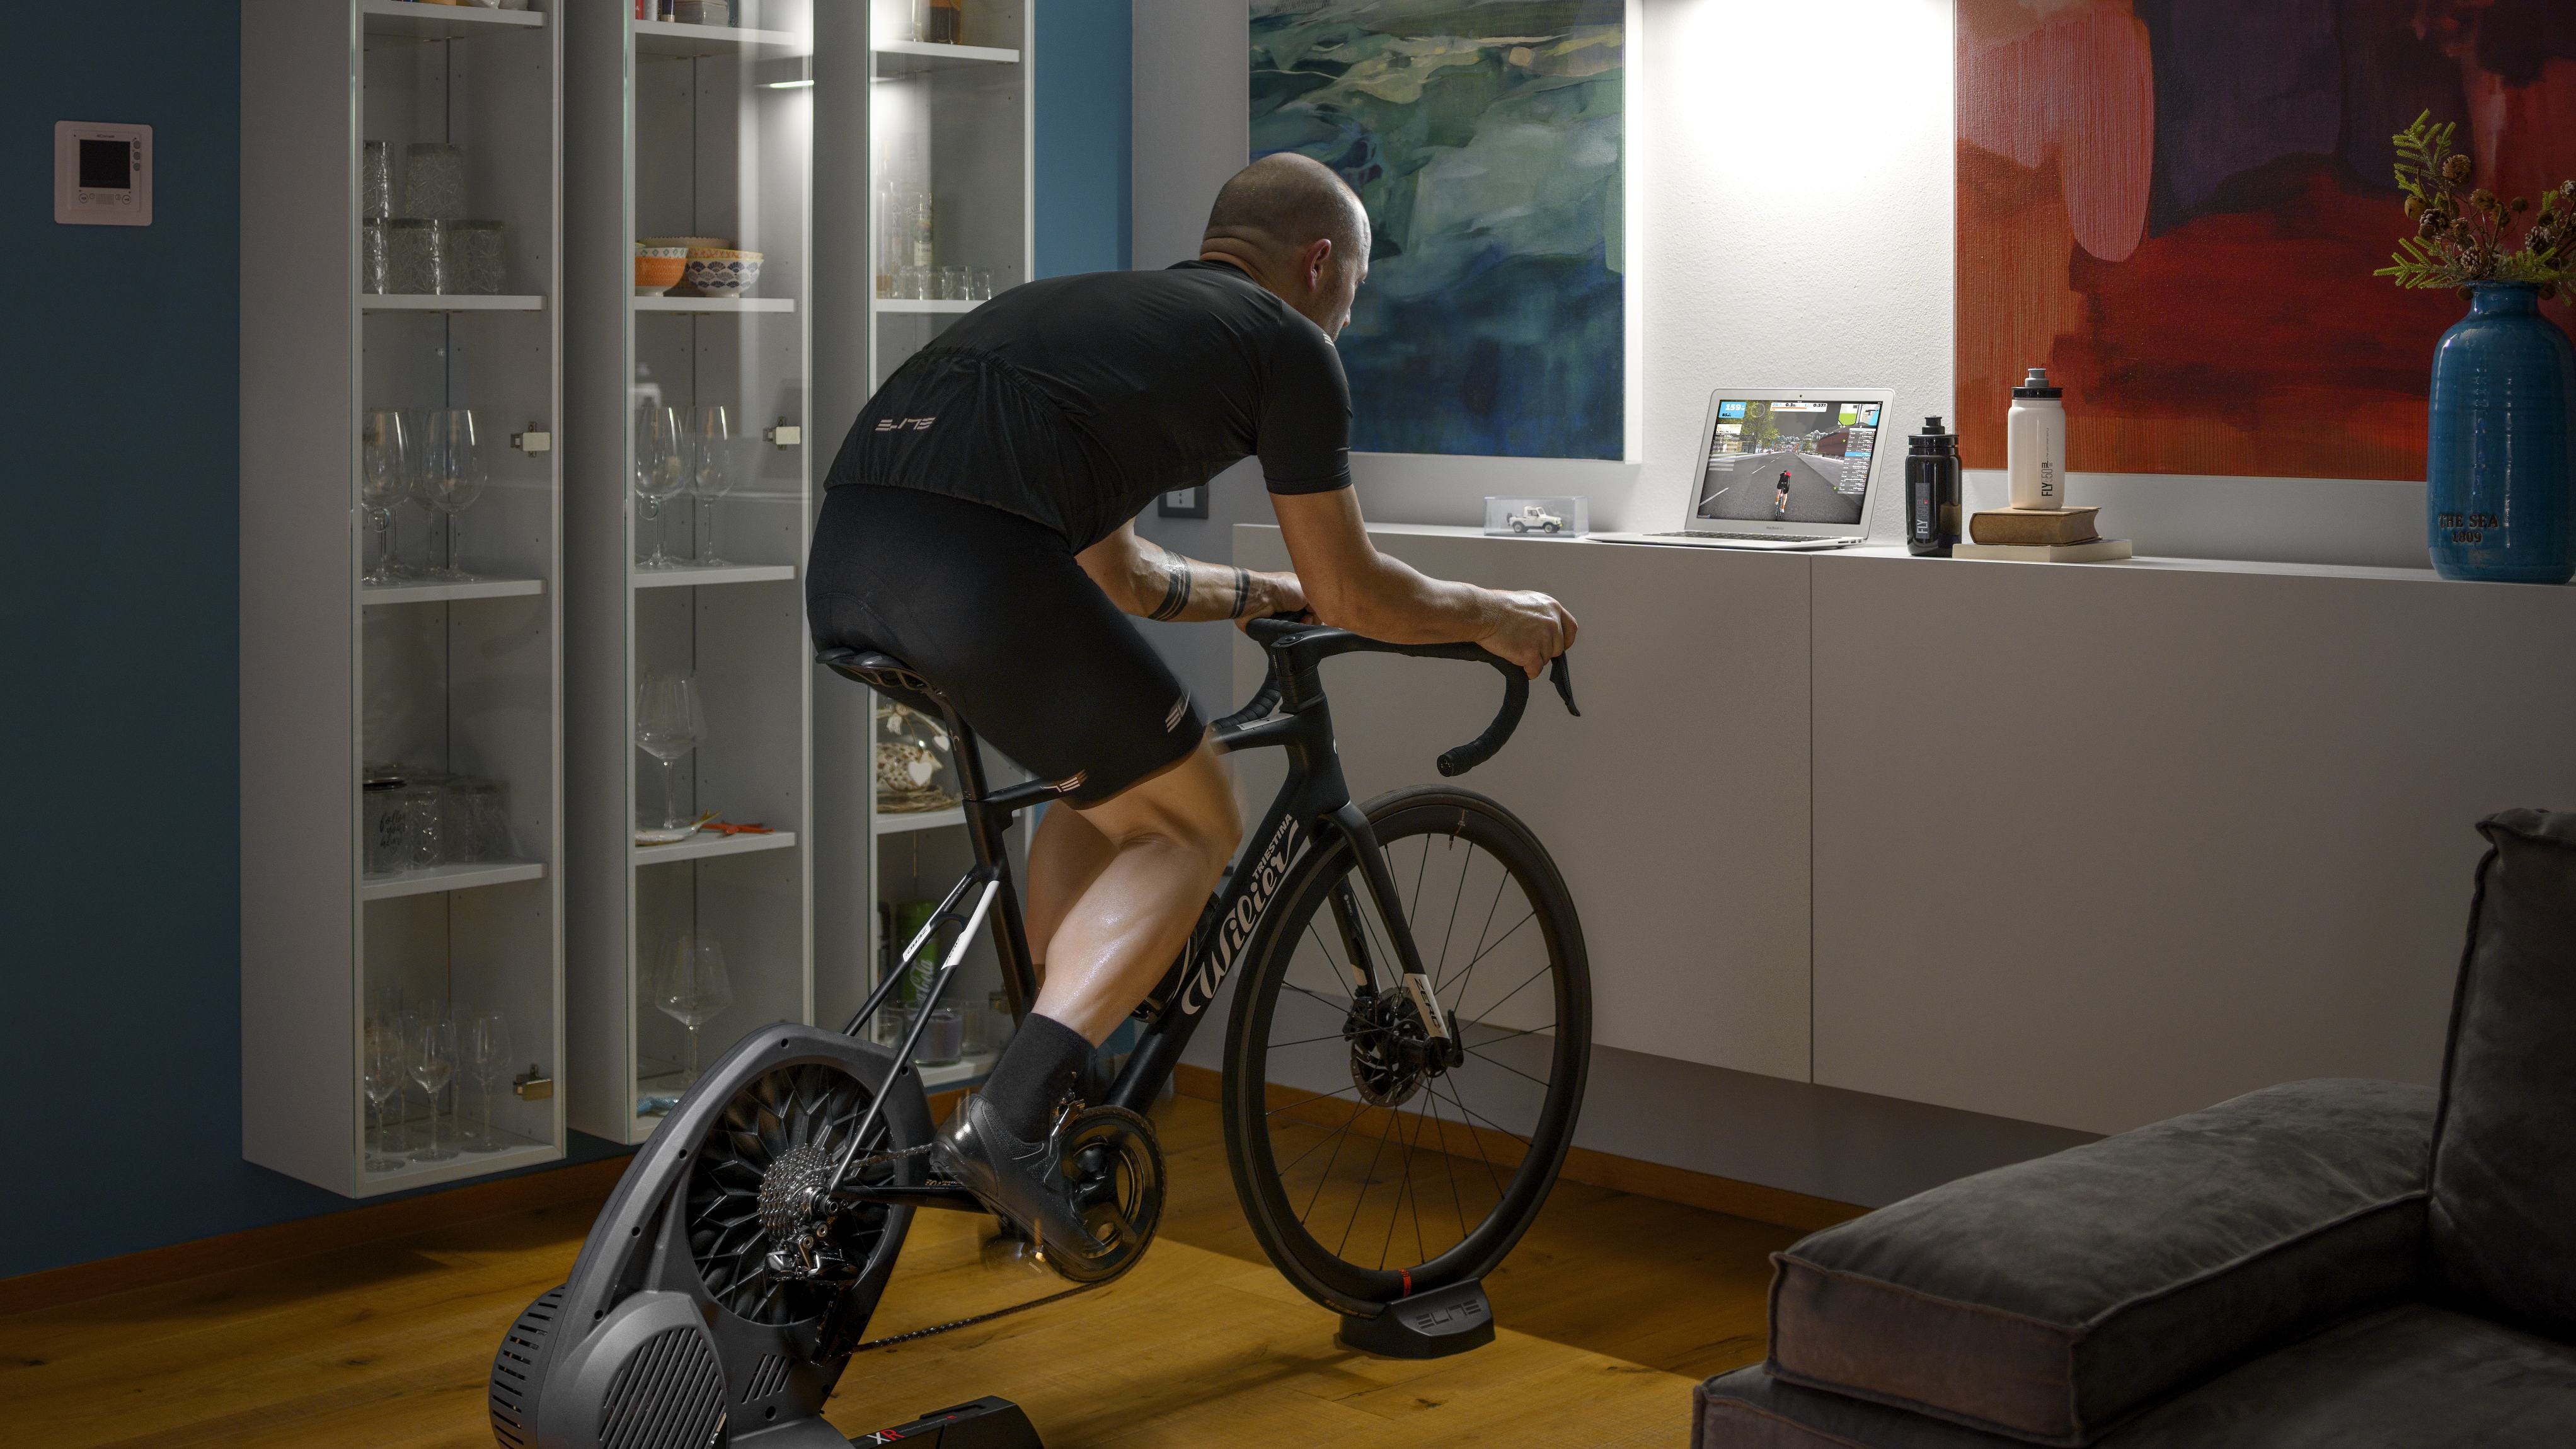
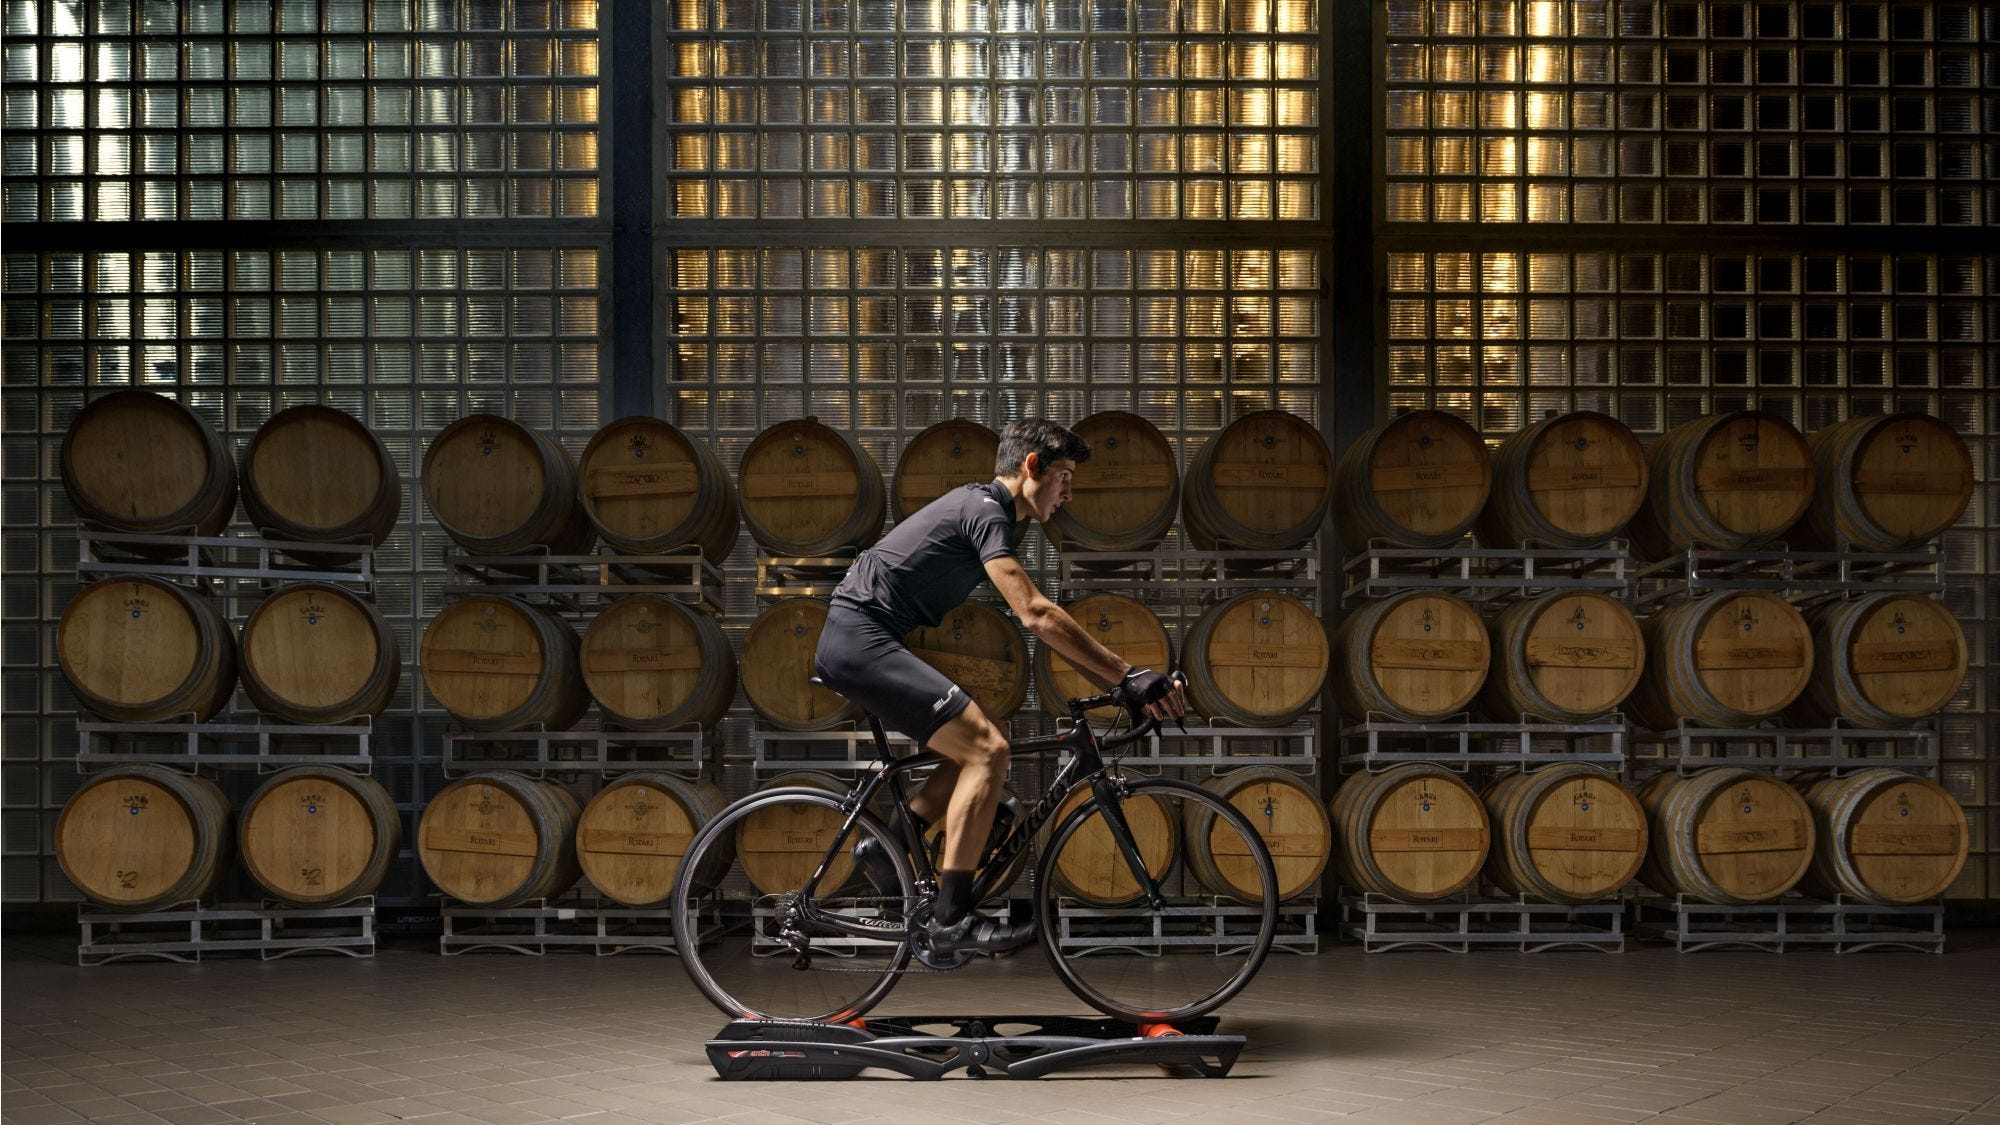
Nov 30 2023Riding indoors is a world away from what it used to be. Turbo trainers have changed hugely from what they were just a decade ago, and the advent of things like Zwift means that you can virtually ride with other people in groups, compete in races or simply have something more interactive than just staring at a garage wall or your TV screen for hours on end. The flip side, of course, is that while things have become significantly smarter and more interesting the price of indoor training has increased proportionally so that if you really want the most comprehensive setup you can then it's going to cost you. What we have here are three potential indoor training setups at various price points and different levels of interest. So whether you just want to keep the pedals turning in the dry or commit fully to indoor training there's something here for you.
-
Brake bleeding FAQ from the guys at Park Tool
Oct 15 2023Hydraulic disc brakes are one of the best things to have become widespread on bicycles in the last decade. They're powerful, have great feel and require very little maintenance when setup correctly due to being a sealed system. Setting up hydraulic brakes is called bleeding, and it's the process by which you remove air from the system. The reason you need to do this is that air is compressable while hydraulic fluid is pretty much the opposite, so the more air there is in the brake system the more inconsistent and 'spongy' your brakes will feel. The trouble is, bleeding is often seen as a one-size-fits-all solution to almost any problems you might have with your hydraulic brakes. But in reality there are only certain situations that you need to bleed the brakes, while other symptoms will actually require other remedies (like changing the pads, for example). In the below video Truman and Calvin from Park Tool talk you through 5 things that mean you need a brake bleed and five
-
Things to pack in your saddle bag (aka getting home when the worst happens)
Jun 21 2023Before anyone gets hung up on our use of the term 'saddlebag' this isn't just about neatly organising whatever you hang off your saddle rails. It's about what to take with you in whatever you use to carry spares be that jersey pockets, a hip pack, frame bag, bar bag, hydration pack or any other form of storage short of a team car. Riding bikes is great, but every now and then - just like with cars - something unfortunate will go wrong and require some kind of on-the-fly repair. Fortunately bikes are much easier to fix by yourself than motor vehicles, and 90% of things can be at least temporarily mended by the road or trail side. So here we're going to discuss what it might be nice to have with you to cover the greatest variety of potential mid-ride issues from punctures to bolts to chains and back again. Here we go...
-
Watch Calvin from Park Tool build a bike
May 31 2023If there's one man on planet Earth that knows his way around a bike, it's Calvin Jones from Park Tool. More years in the business than he'd care to remember, more bikes built than you could possibly count and still more enthusiasm than almost anyone else we know. This is a slightly different video than the standard fare that Park Tool upload in that it's not directly instructional on any single part of bike building or maintenance. Instead, it's Calvin building a bike and talking his way through it for your viewing pleasure. Enjoy.
-
How to service your MTB regularly with Shimano
Feb 14 2023Bikes need love too. Not in the whispering sweet nothings and romantic dinners sense (although if that's what you're into then we're not here to judge) but more in the 'if you ignore them they wont work very well' sense. All bikes need regular maintenance, but MTBs tend to have a harder life than almost all other types of bike so need to be checked regularly and thoroughly to make sure they're still ready to ride. One way to do that is to take your bike to your local Shimano Service Center and get them to give it a full check up. But in between those semi-regularly Service Center visits you need to look after your bike at home and that's where this helpful video (below) comes in. Anna Glowinski talks to H+I Adventures lead guide and Shimano trained mechanic Chris Gibbs about what you should do yourself to make sure your bike is in good condition every time you ride.
-
How to build your perfect indoor training setup
Nov 09 2022Once upon a time, indoor training was seen as a chore. A necessary evil that kept your legs spinning through the winter and was endured rather than enjoyed by pretty much everyone who could bring themselves to suffer through 90mins on a static bike with nothing but the wall in front of you to keep you company (or maybe the TV or whatever, but that ruins the bleak picture we're trying to paint here). Over the last decade though, indoor training has changed out of almost all recognition. Sure, you still attach your bike to an indoor trainer and pedal for however many minutes your planned session lasts, but now instead of trying to keep your mind off the suffering, there are all manner of things designed to help you actually enjoy it. The first of these things is what Elite calls the Interactive Trainer. Far from the wheel-on, monotone trainers of old, these things are really rather advanced and connect to your phone/iPad/computer via ANT+ or Bluetooth LE, and communicate with
-
Essential pre-ride checks for your MTB
Oct 21 2022In the first of their back-to-basics series on mountain biking, Shimano has taken the questions most frequently asked online and turned them into videos, helping newer riders get to grips with some of the basic concepts behind bikes and bike maintenance. This first video is about one of the most important parts of any bike ride - and especially MTB riding - the pre-ride bike check. It's what's called the 'M-Check' which is basically a series of safety checks starting at the front axle that follow an M pattern across the bike. The check then goes through spokes, bolts, headset and saddle to make sure everything is in working order and nothing's in poor condition. Check out the video below to see Shimano Sponsored Rider Anna Glowinski and Chris Gibbs (H+1 Adventures lead guide and Shimano trained mechanic) talk you through how to make sure your MTB is ready to go.
-
Shift housing need a refresh? Watch Park Tool talk you through replacing it
Aug 25 2022There comes a time in every bike's life when something needs refreshing. The most common parts of a bike that need replacing are, unsurprisingly, the ones involved in the drivetrain (and tyres, too), since they're subject to the highest amount of wear because they spend most of their time moving in contact with one another. But one other part of the bike involved in the shifting process will need replacing semi-frequently too, and that's the shift cables an housing. Unless you're running Di2, shift cables are what enable you to change gear. But they need to be encased, and that's what shift housing is. Without the housing it would be very difficult to maintain the required tension in the shift cable to actually shift the bike, but like everything the shift housing will gradually wear out over time and when it does, you'll have to replace it. In this video, Truman from Park Tool talks you through how to install cable housing but, just as importantly, how to size
-
How to travel with a bike the Park Tool way
Jul 19 2022Since we're still in the heady days of Summer, there's a good chance you might be thinking about travelling somewhere with your bike. If you are, figuring out how to pack it to make sure it arrives at the other end in one piece is extremely important. Nothing ruins cycling holiday like not having a bike to ride. As ever, the incredibly helpful chaps from Park Tool are here to advise you about the best way to get your bike from A to B without calamity. Check out the below video for all you need to know about travelling with a bike.
-
Watch Park Tool show you how to check your cassette wear
Apr 20 2022Keeping on top of component wear is one of the most important things when it comes to keeping your bike on the road (or off-road) for as long as possible. The drivetrain is a key area to focus one, because the main components there in the chain, cassette and chainrings all have an effect one one another and when one begins to wear it will speed up wear on the other parts (as well as the jockey wheels on your rear derailleur). In the below video Truman from Park Tool show you how to check the wear on your cassette without having to change the chain and ride around. Cassettes can be tricky to judge by eye because by the time the teeth are looking worn, you should have changed it a long time before!
-
Essential pre-ride maintenance tips
Apr 04 2022So you're planning a big ride? Great. There's nothing better than enjoying a day out in the saddle (unless the weather's awful but, you know, that's character building, right?). One thing that can spoil a ride very quickly is a bike that's not working properly. Clicking gears, squealing brakes, punctures or worse are at best a real motiviation-killer and a worst a day ender. It only takes a few minutes to check whether you're bike is ready for a ride, so here are a few things to think about that'll make sure you have a ride you'll remember for all the right reasons, not a day to forget. Gear indexing There's nothing more annoying on a long bike ride than gears that are clicking or jumping. Most of the time your gears will be perfectly fine, but if you've travelled with you bike before the ride there's a chance that your rear mech may have been knocked which can cause things to be slightly off. Stick the bike in a workstand (or get a mate to hold it) and just cycle through
-
Building Your Own Bike Part 1: The Main Bits
Jan 06 2022New bike day is always a good thing. There's very little more exciting than a new bike; the anticipation before it arrives, unboxing it for the very first time, standing there and basically just admiring it for longer than a rational person should, all that stuff is great. But there comes a time in almost every cyclist's life that they become build-curious, that is, they start to think about buying all the bits and building their own bike from scratch. But where to start? The classic mistake is buying the first frame you like that's on sale, but in reality if you're going to commit to building a bike yourself you really want to take your time and get it right. So here are a few things to think about when it comes to starting your first custom bike build...
-
Troubleshoot your tubeless setup with Park Tool
Dec 17 2021If ever there were a time to tinker with your bike as a way to put off doing other things, winter would be it. Sure, it's not technically winter until next week, but you know what they always say about procrastinating - there's no time like the present. One thing you might have been thinking about but not had the time to try is tubeless. Running your wheels and tyres tubeless seems like a big deal - and can be a bit of bother to setup initially - but once you've got it sorted it really isn't any more hassle and if it saves you a few punctures then it's more than worth it. If you've not setup a wheel tubeless before then the first video below from the fantastic folks at Park Tool is a great place to start as Calvin and Truman talk you through everything you need to know to get going. The second video is troubleshooting - in other words things that you might encoutner while running tubeless and how to work around or correct them. Both are well worth a watch and,
-
Stop that bike creaking with Park Tool
Oct 01 2021There are few things more annoying than a bike that creaks. You go out for a ride and soon you're pretty much obsessed by that creak, all you can think about is how to make it stop and - let's be honest - it's a real ride ruiner. Well the helpful folks from Park Tool feel your pain and have made these videos to help you figure out why your bike is making noise and, just as importantly, how to make it stop. Check this out:
-
What is E-Tube? Personalise your riding experience with Shimano
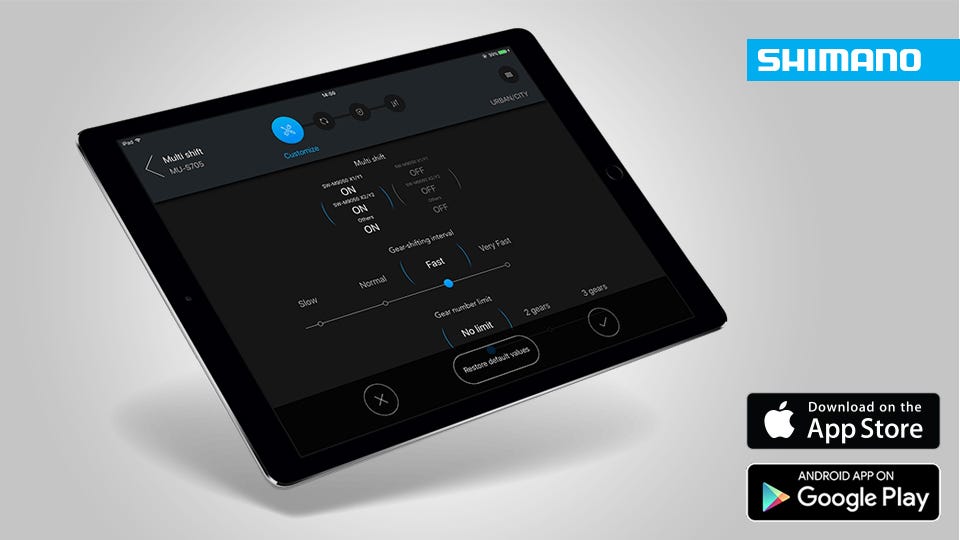
Sep 16 2021Lots of people ride bikes with either Shimano's Di2 shifting system or STEPS eBike system. Straight out the box both of these are designed to work perfectly (and they do) but with both systems you occasionally need to update the firmware or simply want to change how the drivetrain works to suit your riding style. For either of these, Shimano's E-Tube project is your best friend. What is E-Tube? Put simply, E-Tube is an app that lets you customise your ride settings to (almost) however you want them, update firmware and identify and fix any errors that may occur within the system. It's a one-stop shop to accessing the parts of your Shimano groupset that may previously have seemed untouchable. And if you're not using it, you're not getting the most out of your bike. There are two apps, the E-Tube Project and E-Tube Ride and the differences between them are as follows...
-
A not-entirely-serious ranking of the best workshop tools
Sep 09 20211. Hammer Ah, the tool that needs no explanation. Nobody ever picked up a hammer and didn't know what to do with it. You hit stuff with it, it's brutally effective at what it does and we love it for that reason. But dont get us wrong, the hammer is a deeply nuanced, multi-dimensional tool with plenty of applications. Can't get something to work properly? Hit it. Need something to budge that won't move for love nor money? Smack it. Frustrated with life and the way things are going? Hit something. What other workshop tool can offer that range? Not one. That's why the hammer has a well-deserved place on this list and at the top, where it should be. 2. Allen/Key keys The most important thing about hex keys is to have lots of them. As many sets as you possibly can. This is because you'll spend at minimum 50% of your time in the workshop dropping them and subsequently trying to figure out where the stupid things went. If you have five sets, you can leave the waiting
-
How to use the milKit tubeless valve system
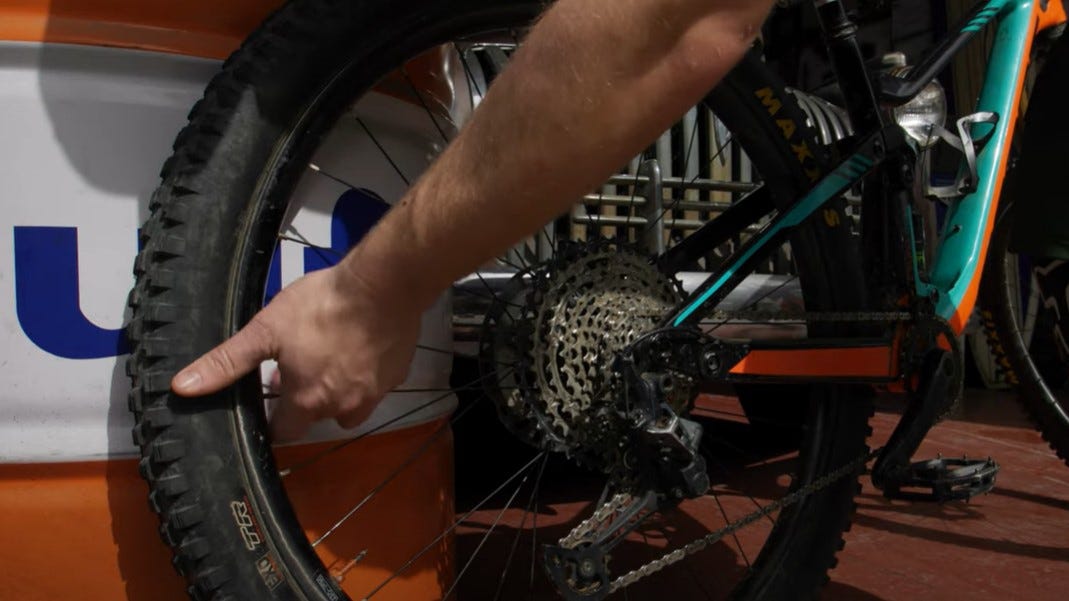
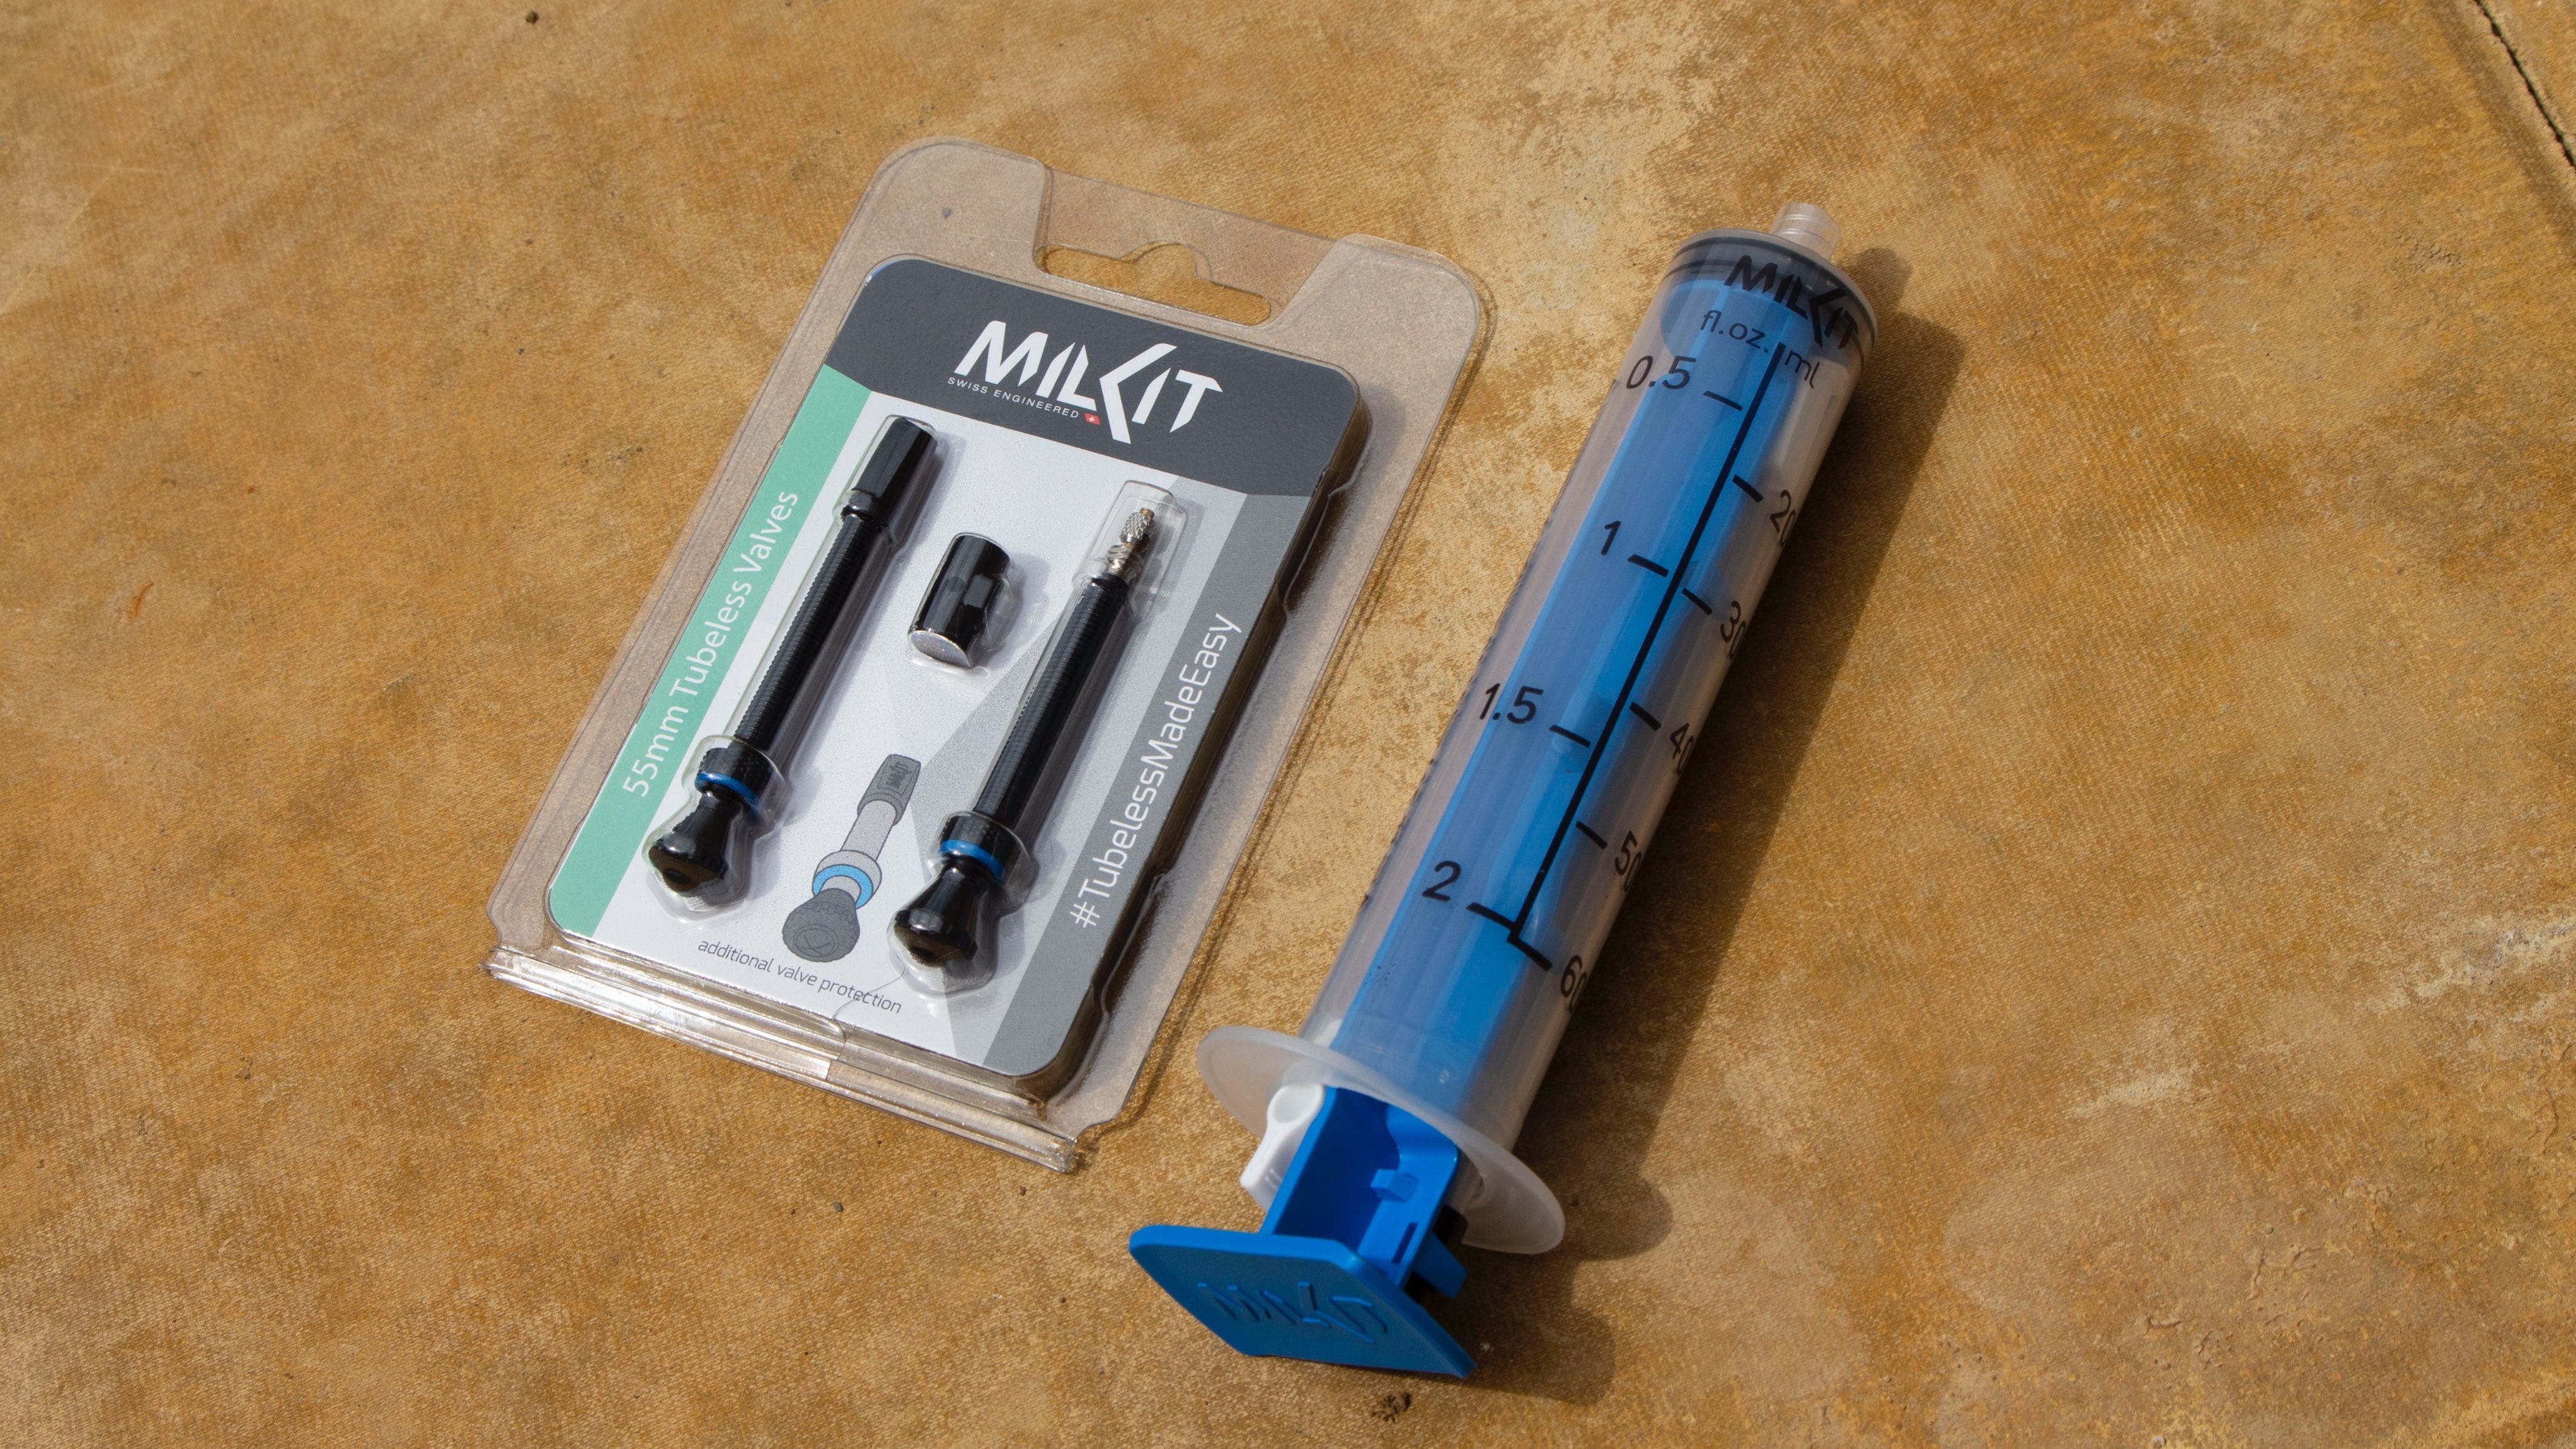
Aug 20 2021Tubeless is one of those great ideas that’s actually made life a little easier. Sure, tubeless can be a bit of a pain as the tyres can occasionally be hard to seat on the rim, but doing away with inner tubes greatly lowers the chances of getting a puncture, and good sealant will have that puncture mended and ready to go far quicker than changing a tube anyway. The milKit system is fantastic because it lets you install sealant and check sealant level without having to remove the tyre from the rim, meaning once you’ve got that tyre seated the only time it should need to come off is if you puncture badly enough that you need a new one. It also removes that moment where either you’ve seated the tyre and have to remove a small section to pour in your sealant, or you put your sealant in before seating the tyre and really hope that you’re not about to repaint your walls in ‘gunk chic’. You laugh, but we’ve

