Categories
7 things to regularly check on your bike
Checking your bike regularly will make sure that it stays working properly for as long as possible. Here are some things to keep and eye on
It's pretty easy to fall into the trap of thinking that once your bike has been built and is ready to ride that it just stays that way forever. This is not the case. While your bike will keep going without daily care and attention if you need it to, it's a good idea to remember to check certain things periodically to make sure it's still safe to ride.
Below is a list of things that you should check regularly on your bike, no matter what type of bike you ride. Look after the bike, and the bike will look after you.
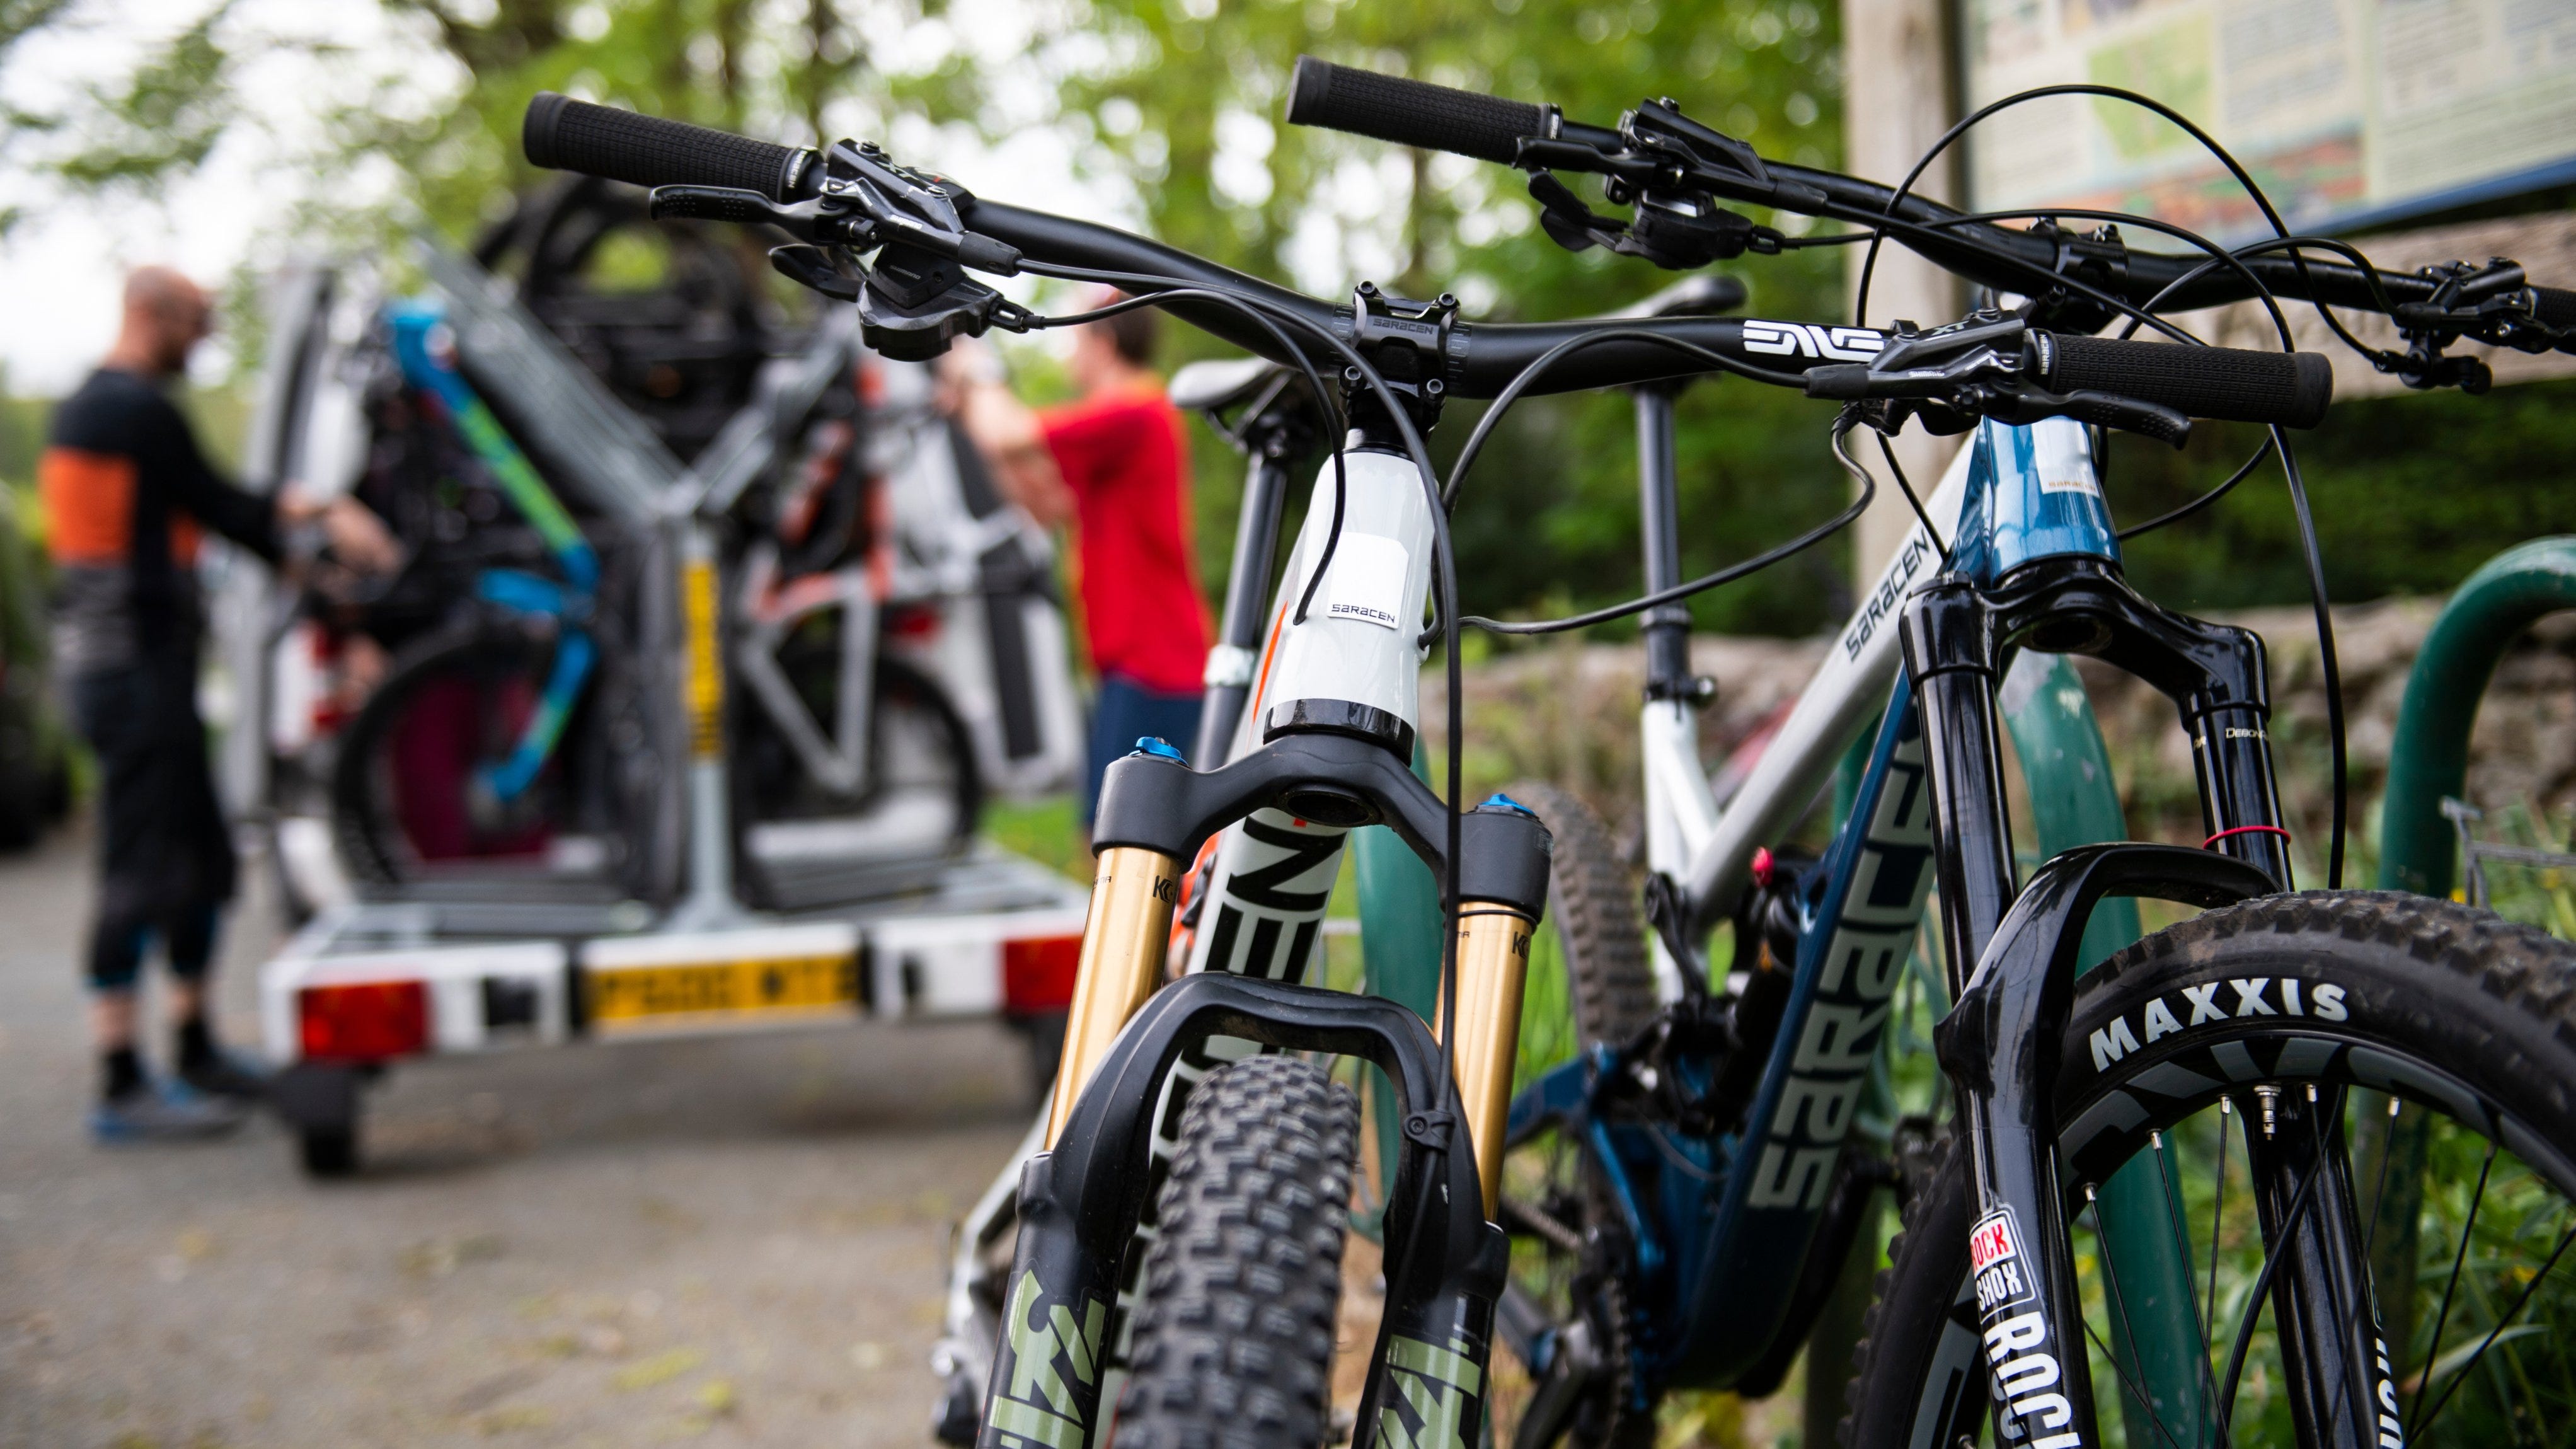
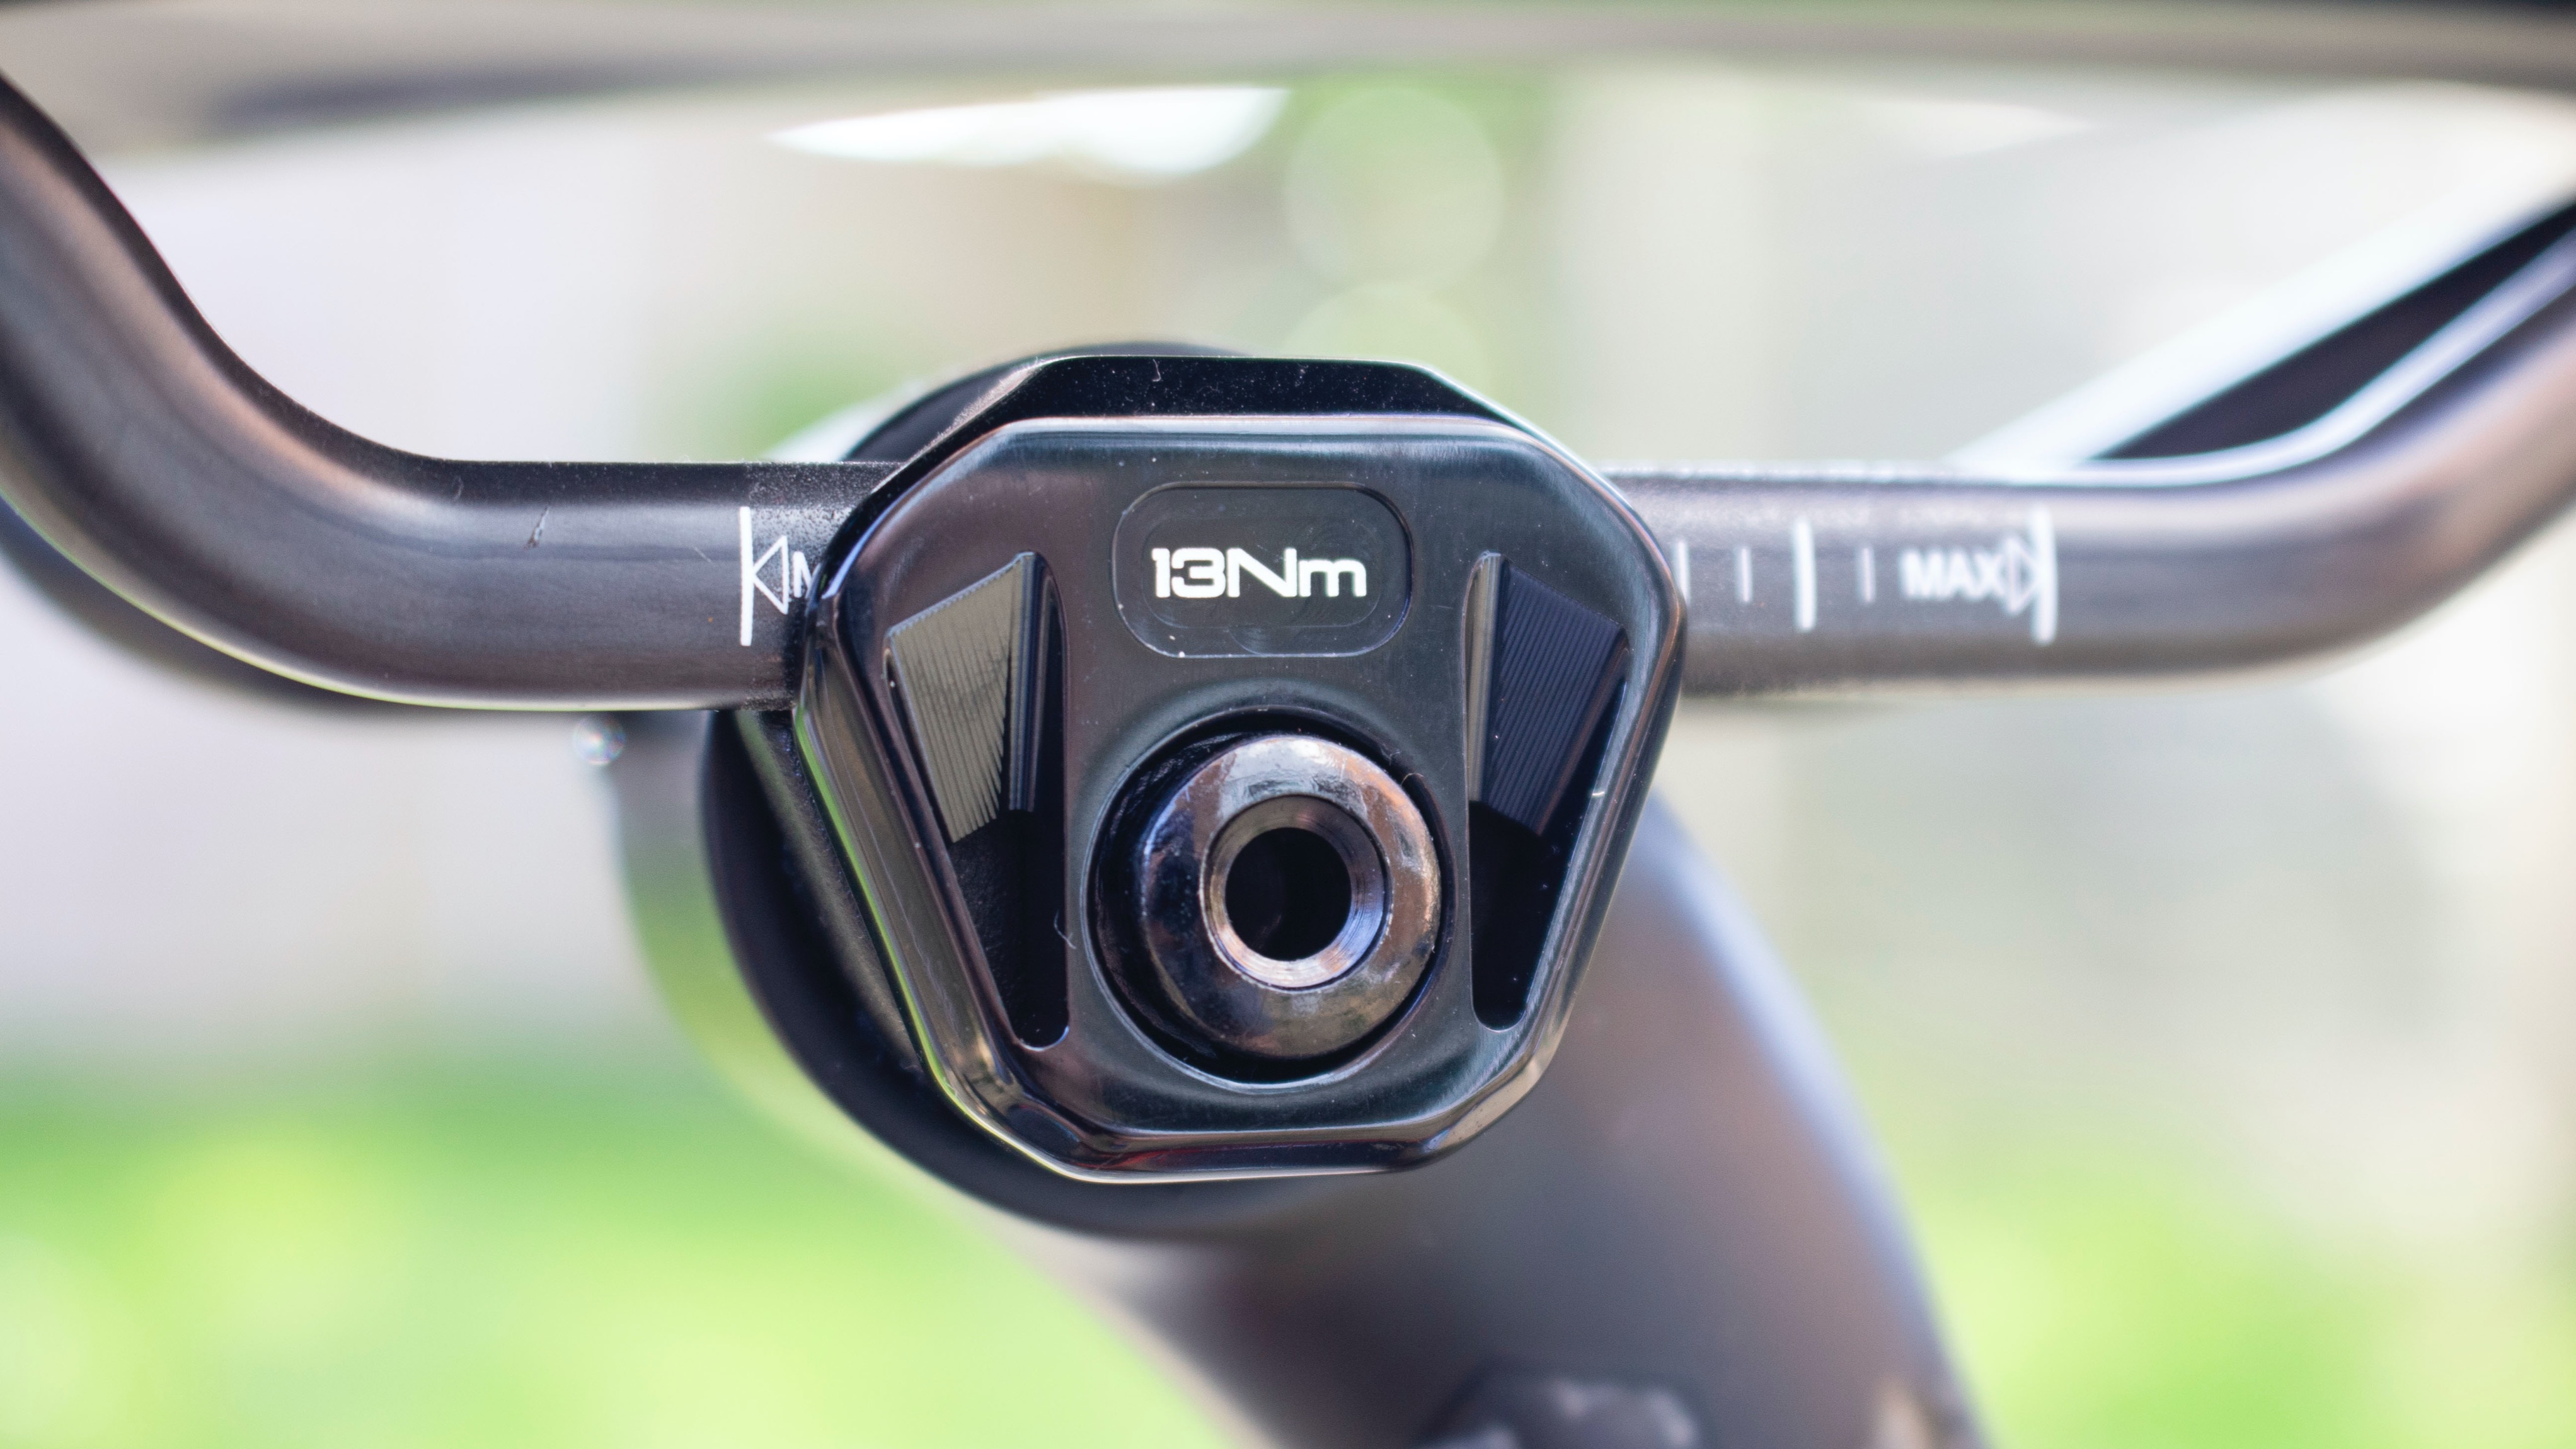
Stem/bars/seatpost bolts
It’s easy to think that the bolts on your bike are a one-time thing, and you can just tighten them and forget about them for the rest of time. But that’s exactly the sort of attitude that ends up with your bars slipping on a pothole and an impromptu visit to the dentist.
Making sure to regularly check the bolt tightness on your bike is one of the most important things to do. Every single bolt has a manufacturer recommended torque level (aka how tight they should be done up) and you need to make sure nothing is loose.
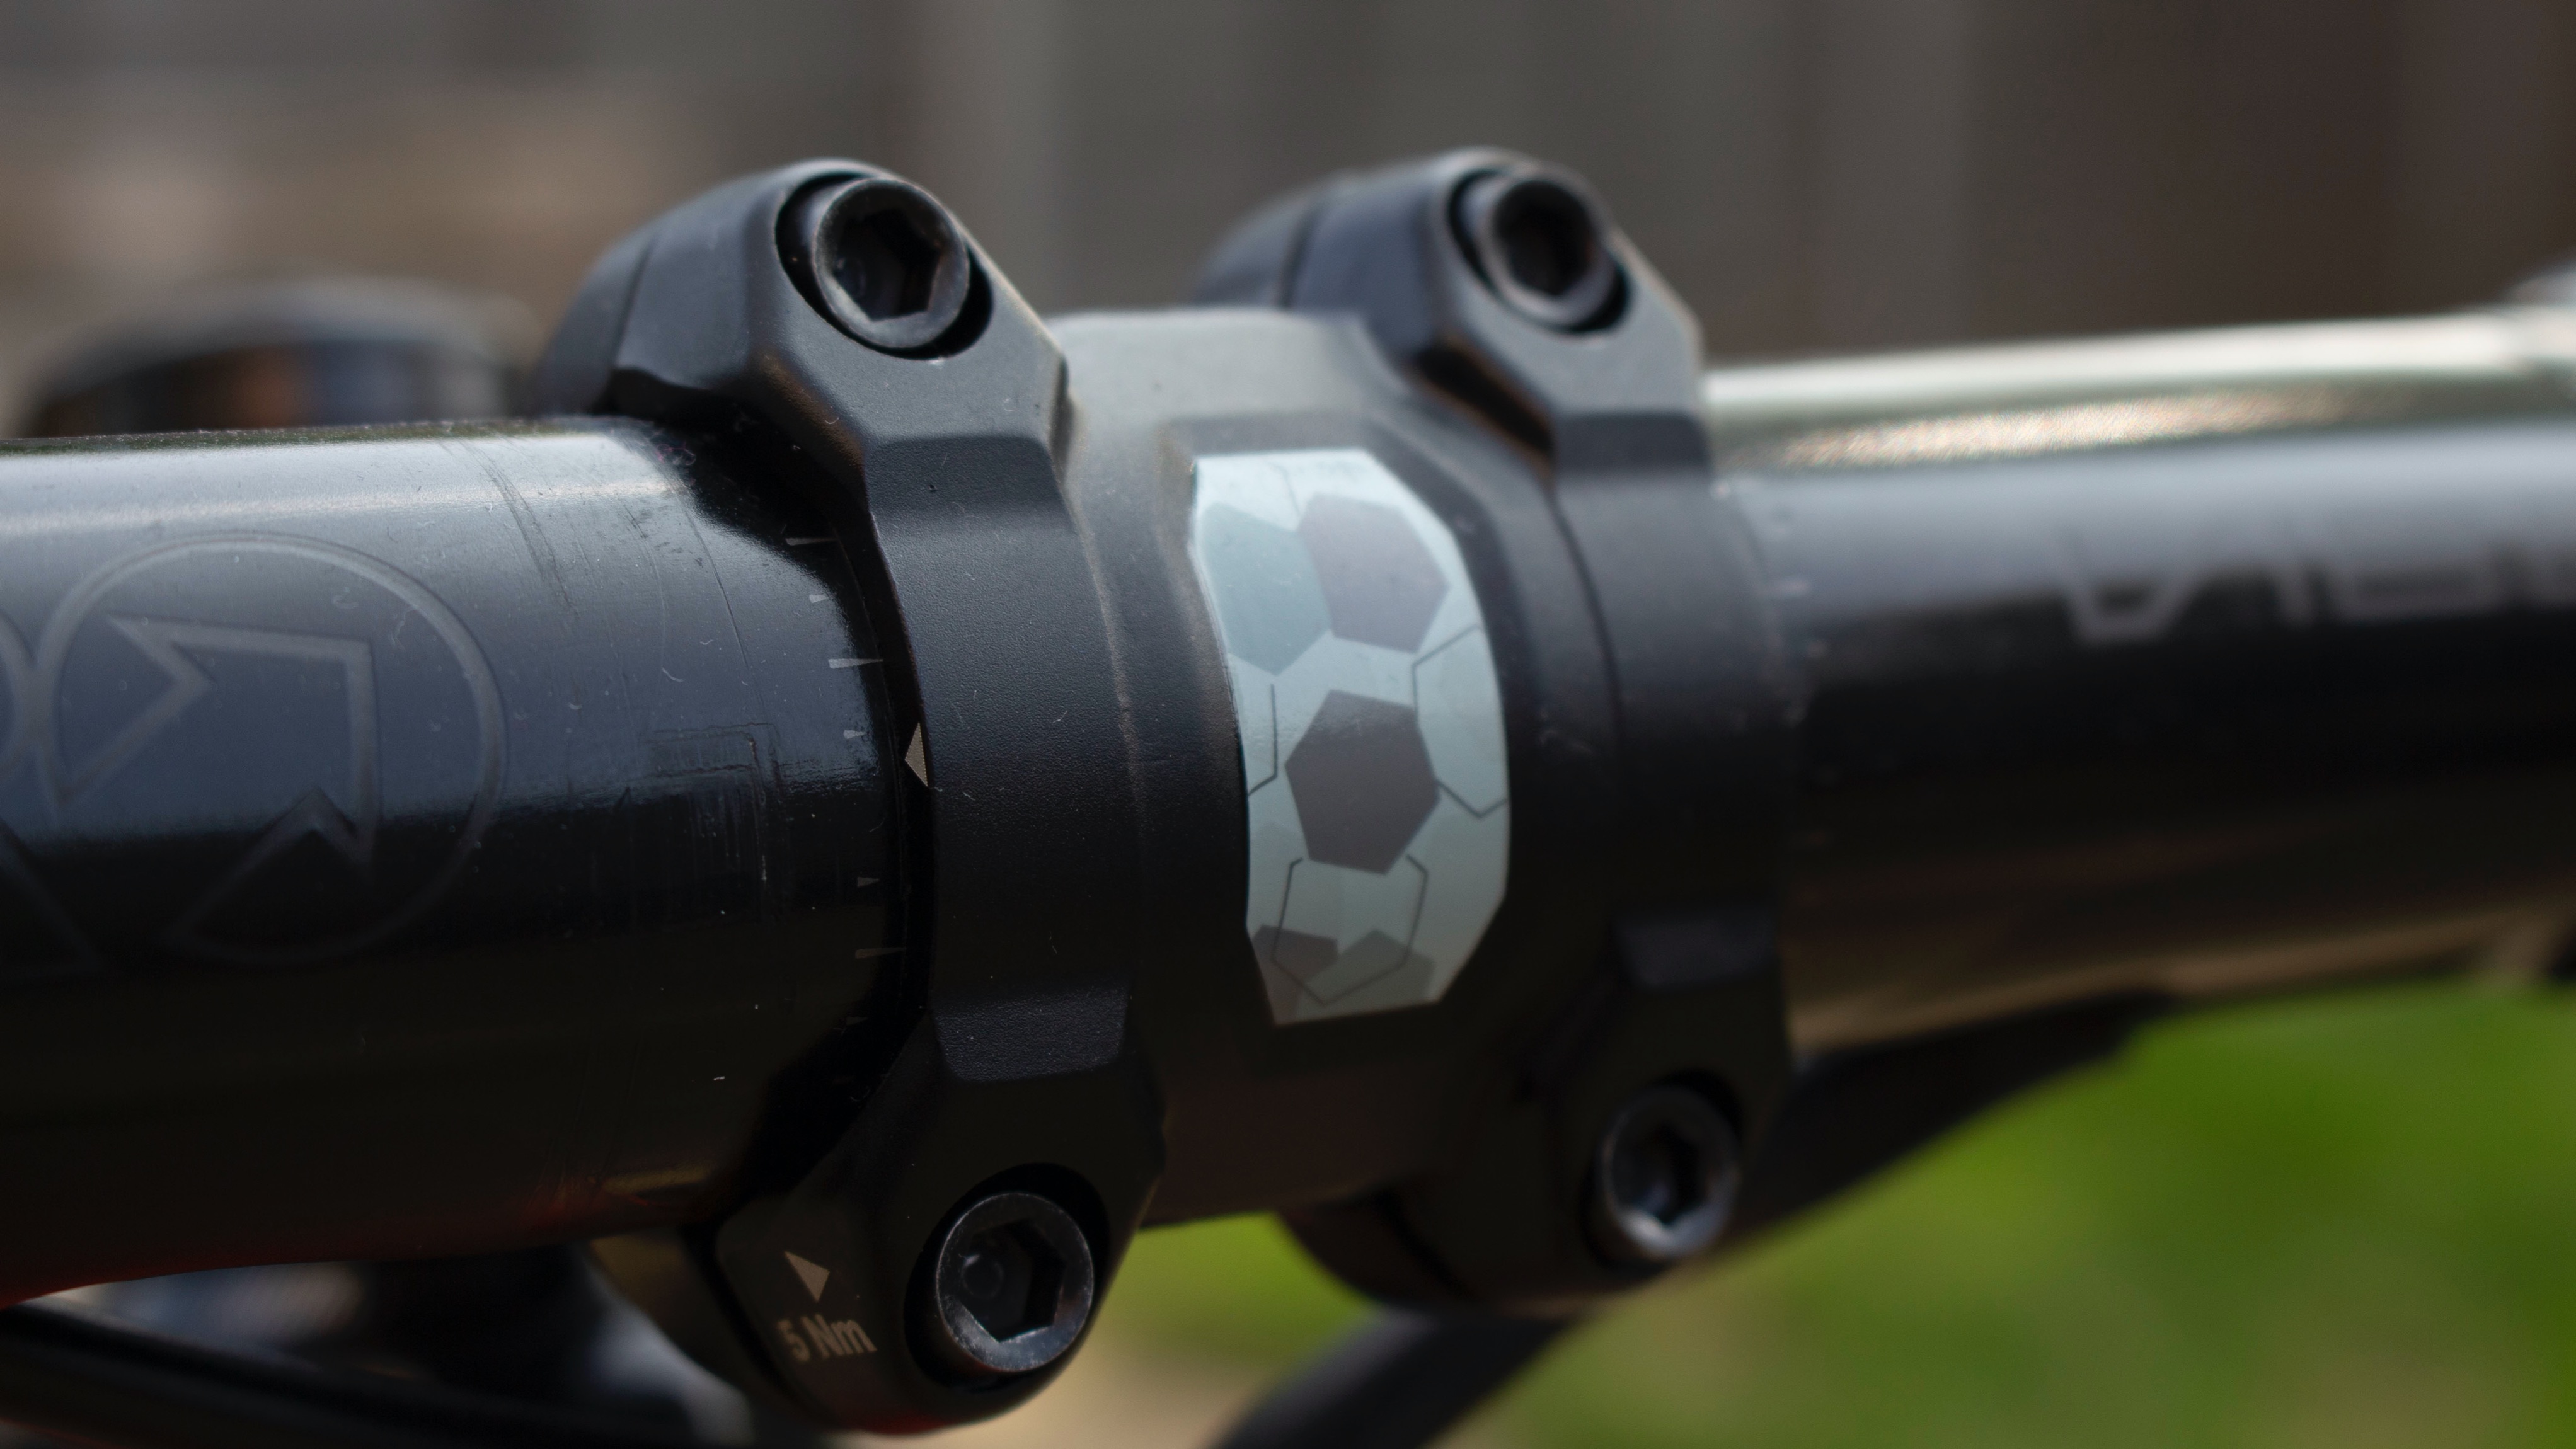
The absolute most important ones that you should check every few rides are stem bolts - at both the steerer and handlebar end - and seatpost clamp. Those are the most likely to slip while you’re riding and the ones that could cause the nastiest surprises if they do. But others to check include chainring bolts, crank arm bolts on the non-drive side, bottle cage bolts, brake calipers bolts and basically anything else you can find.
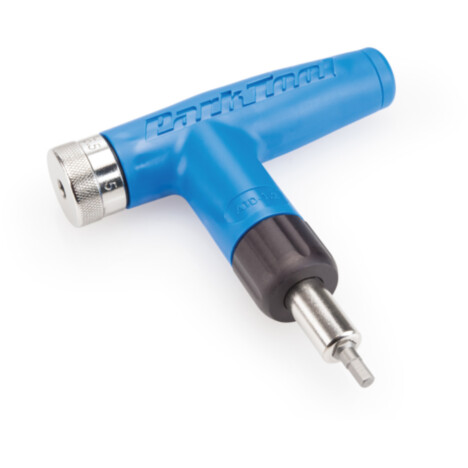
Oh, and when you tighten them, don’t just grab a hex key and wrench them as tight as possible. Find the recommended torque setting and use something like the Park Tool ATD-1.2 or a proper torque wrench to make sure nothing is over tightened.
Brake pads/rotors/rims
Brake pads wear out, as do rotors, as do rims. Your pads will be the things that go first, as they wear away a little every time you hit the brakes and you don’t want the first time you realise they’re worn to be a horrible metal-on-metal noise and your bike failing to slow down.
Rim brake pads all have wear indicators on them and you should replace when they grind down to that line. Disc pads can be a little more difficult but thanks to helpful videos like this one from Park Tool, you can figure out whether your pads need replacing.
Rotors do eventually wear away as well, and the best way to know if your rotors are worn is to measure their thickness. Shimano rotors, for example, are 1.8mm thick when you buy them, and Shimano recommends that they’re replaced when they’re down to 1.5mm. The easiest way to measure is using a set of digital callipers and remember that different rotors will have different recommendations for replacement so be sure to find out what those are and keep an eye on them.
With rim brakes, you need to keep checking your rims as well as your brake pads. Every rim brake wheel will have a wear indicator on it, on alloy rims it’s usually a little indent on the rim that looks like a small dot and when you’ve worn the rim down to the point that the dot is hard to see it’s time to go about replacing those wheels.
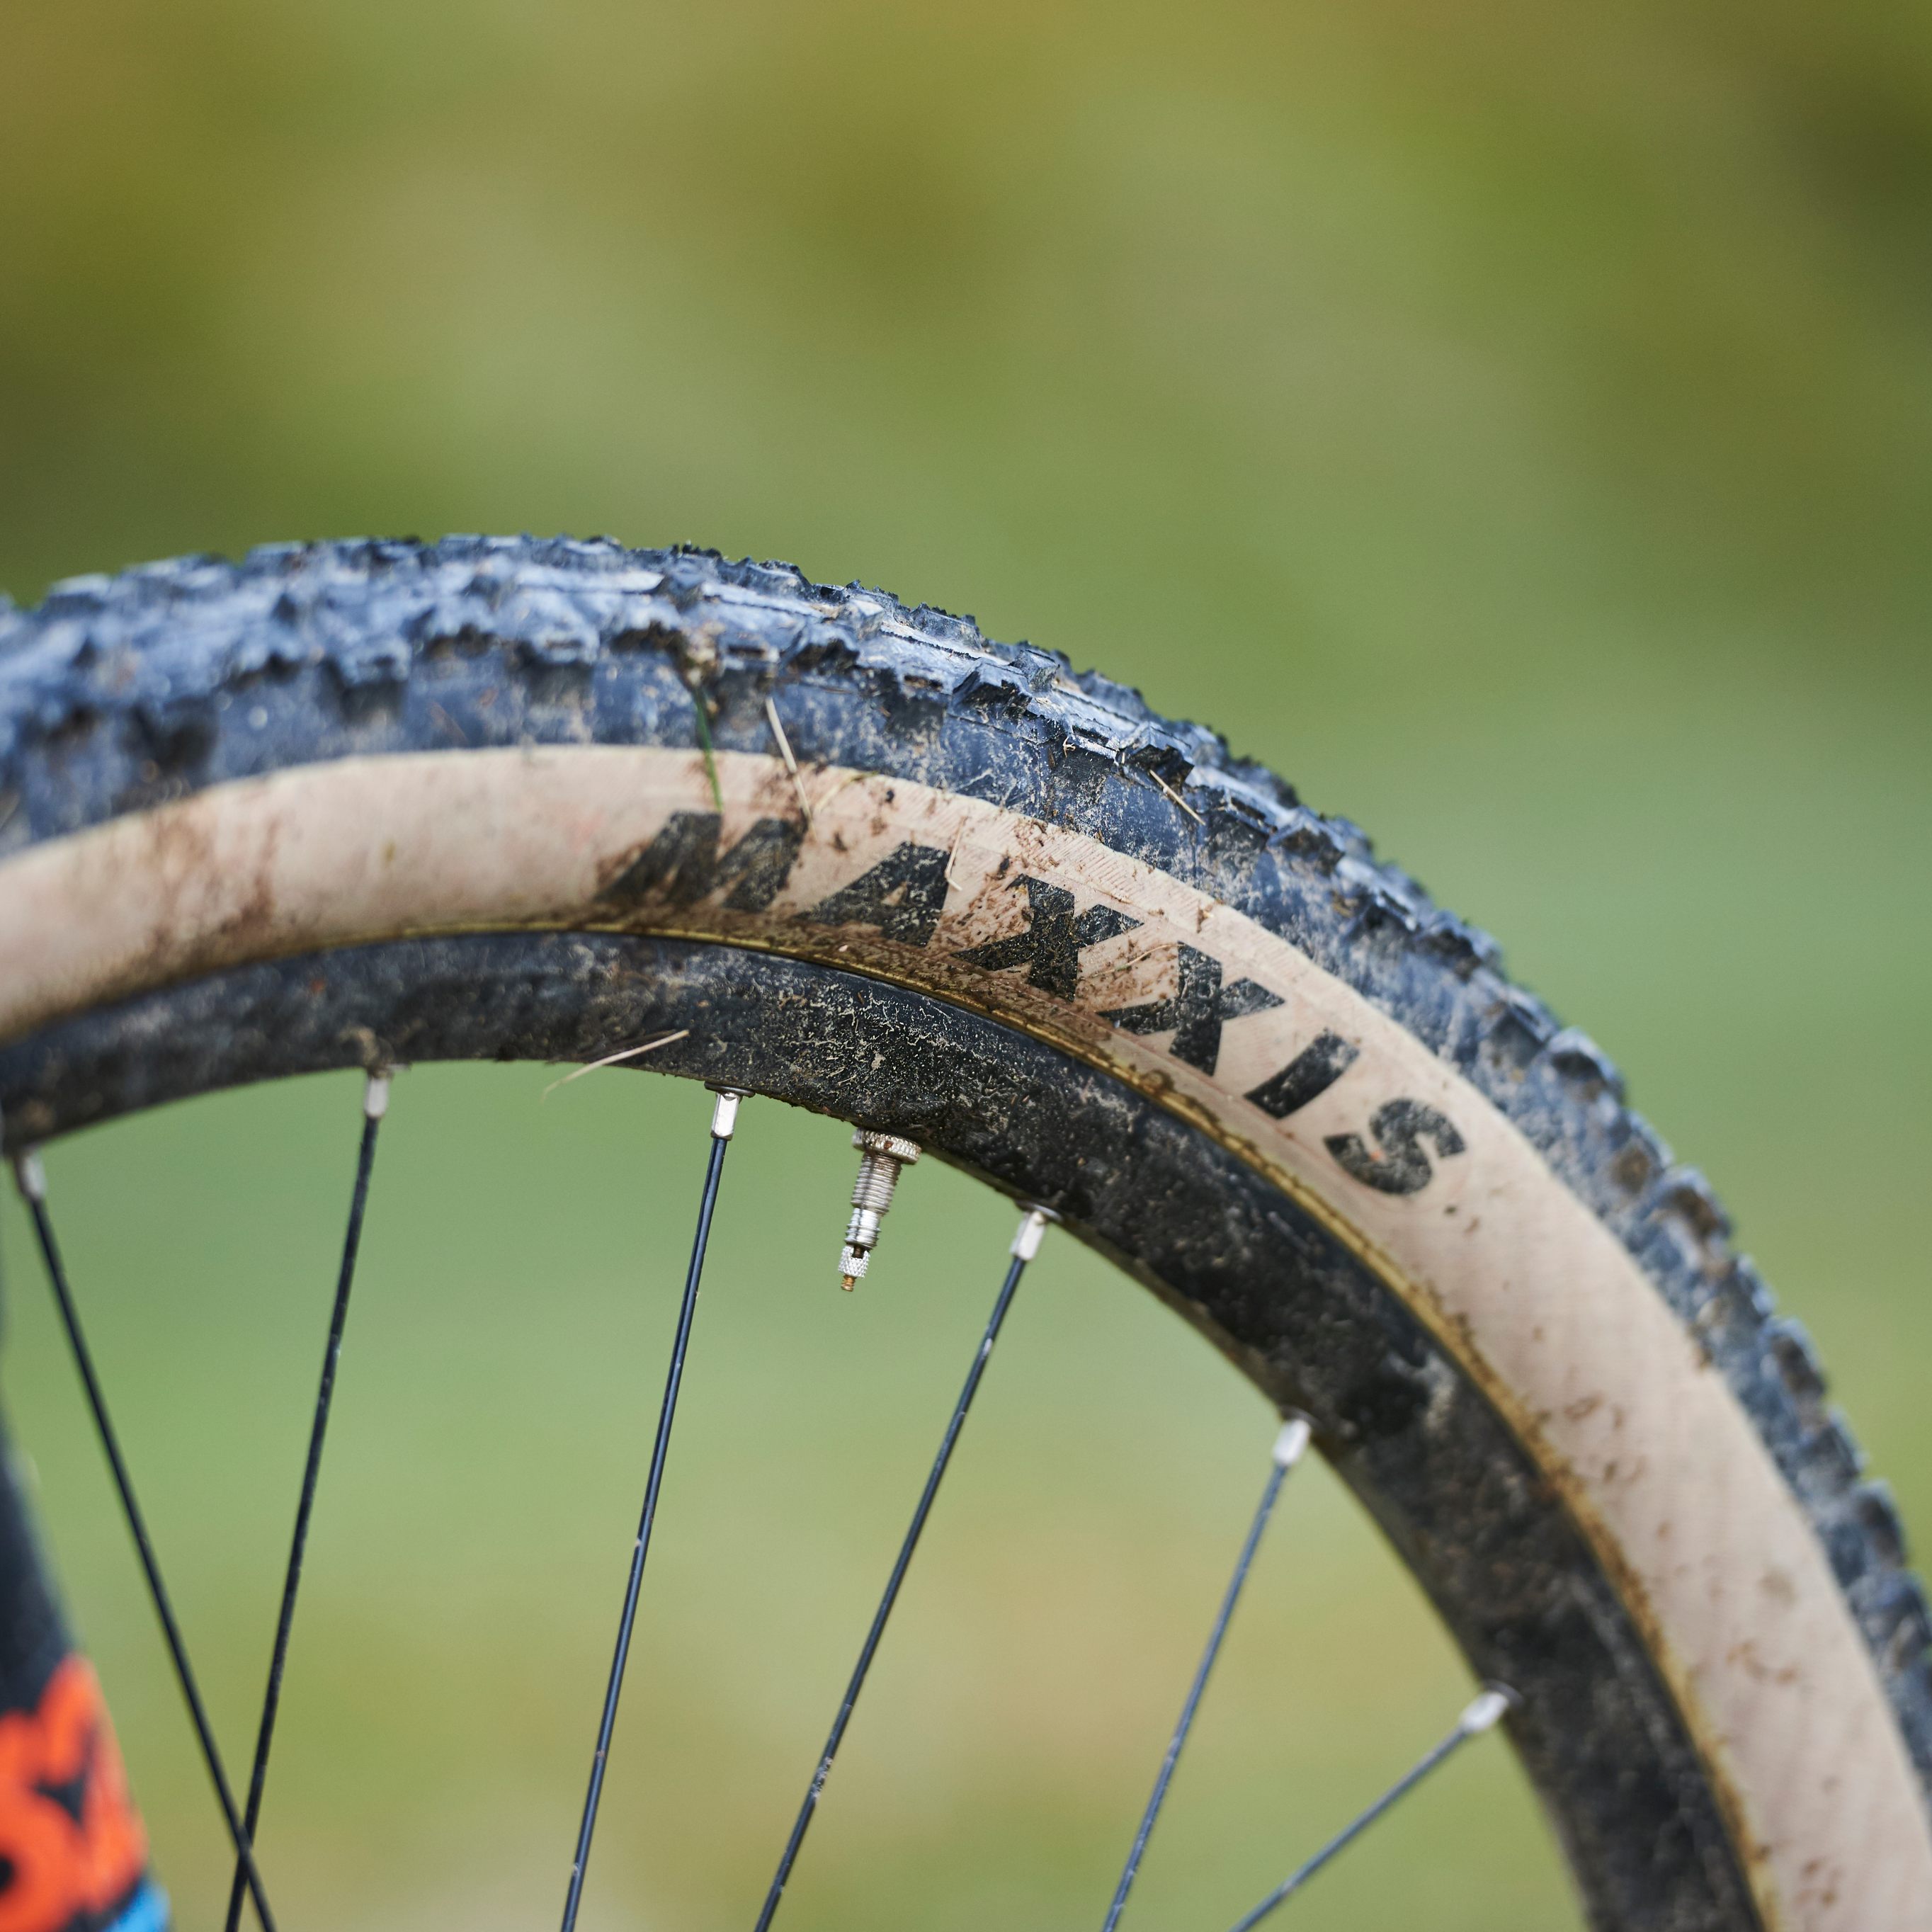
Tyres (and not just pressure)
We hop it goes without saying that you check your tyre pressure before every ride (and if you don’t, you should), because the first time you hit a pothole or rock and feel the rim hit the floor could be the last time you get to ride those wheels.
That's doubly important for MTB riding where your tyre pressure has a much more pronounced effect on your grip, and your often riding on loose or muddy ground.
But you should also check your tyres regularly for anything that’s embedded in them. Whether that’s glass, flint or whatever, taking out anything in the tyres after a ride will reduce the chances of getting a puncture next time out.
For any tiny holes in the tyre, you can always seal them with a bit of superglue to keep anything from embedding back in there next time you ride.
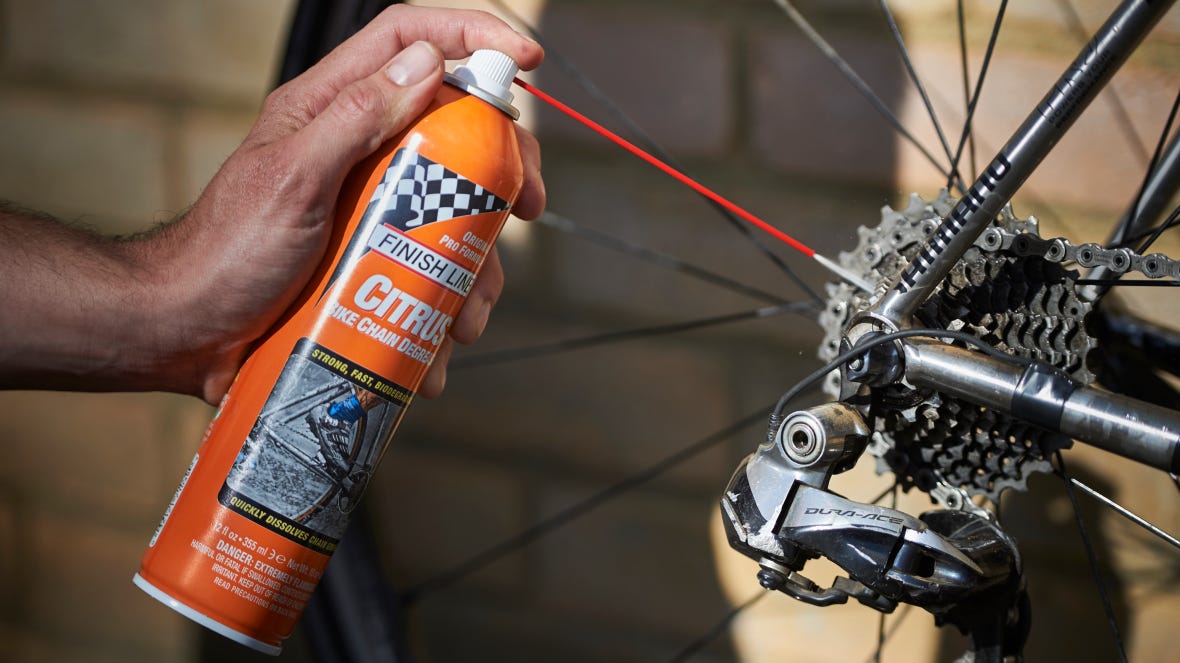
Chain wear
It might seem a little odd, and it’s almost imperceptible to the naked eye, but your chain stretches over time and that’s what we’re talking about when we use the term chain wear. As a chain stretches, it doesn’t fit as well around the chainrings and cassette on the bike and eventually it’ll start damaging the teeth on those too if you leave it too long.
The easiest way to check your chain is with the helpfully-named chain checker. Just drop it into the chain and it’ll show you how worn your chain is (or isn’t). Park Tool’s chain check is cheap and very easy to use. How easy? This easy:
Saddle
As the bit you spend almost all your time sitting on, the saddle is really rather important. It’s attached to the bike using a clamping mechanism that holds the saddle rails in place. Guess what? You need to check those bolts are tight regularly too since you really don’t want your saddle slipping while you’re riding along.
It’s also a good idea to check the integrity of the saddle every now and then, too. Look over the upper for holes or tears, and look over the shell from the bottom for cracks or signs of wear.
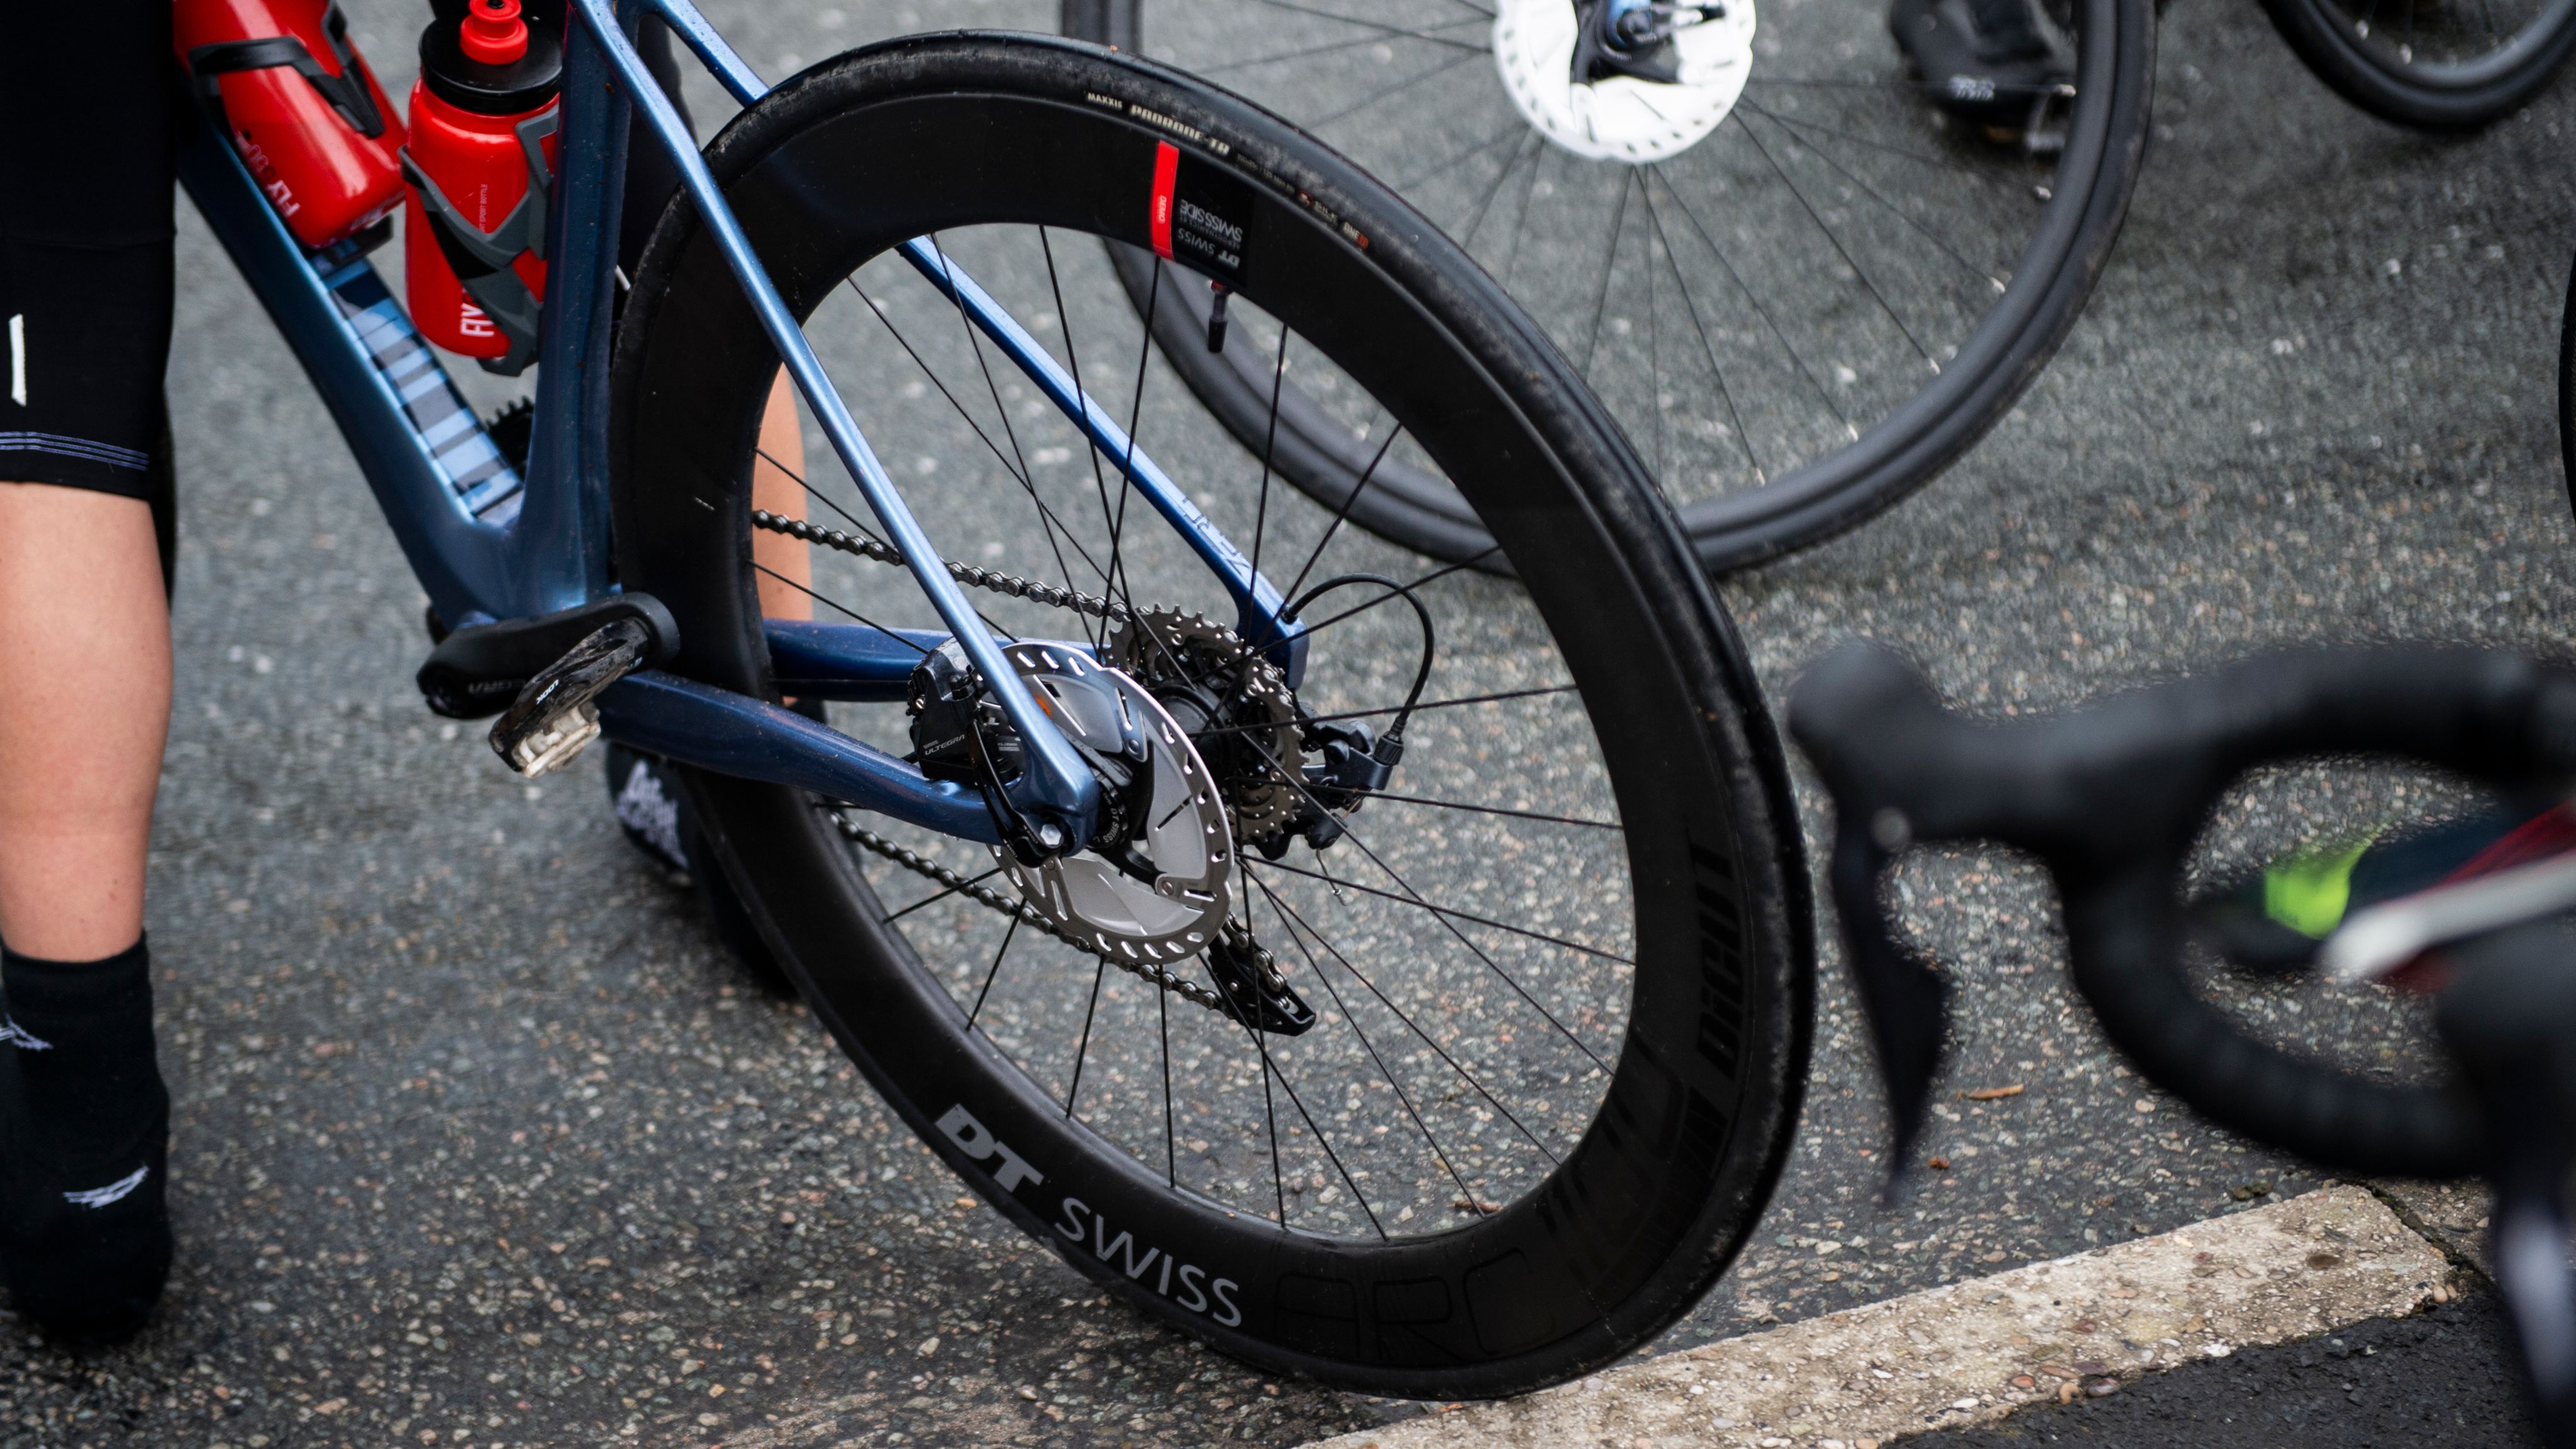
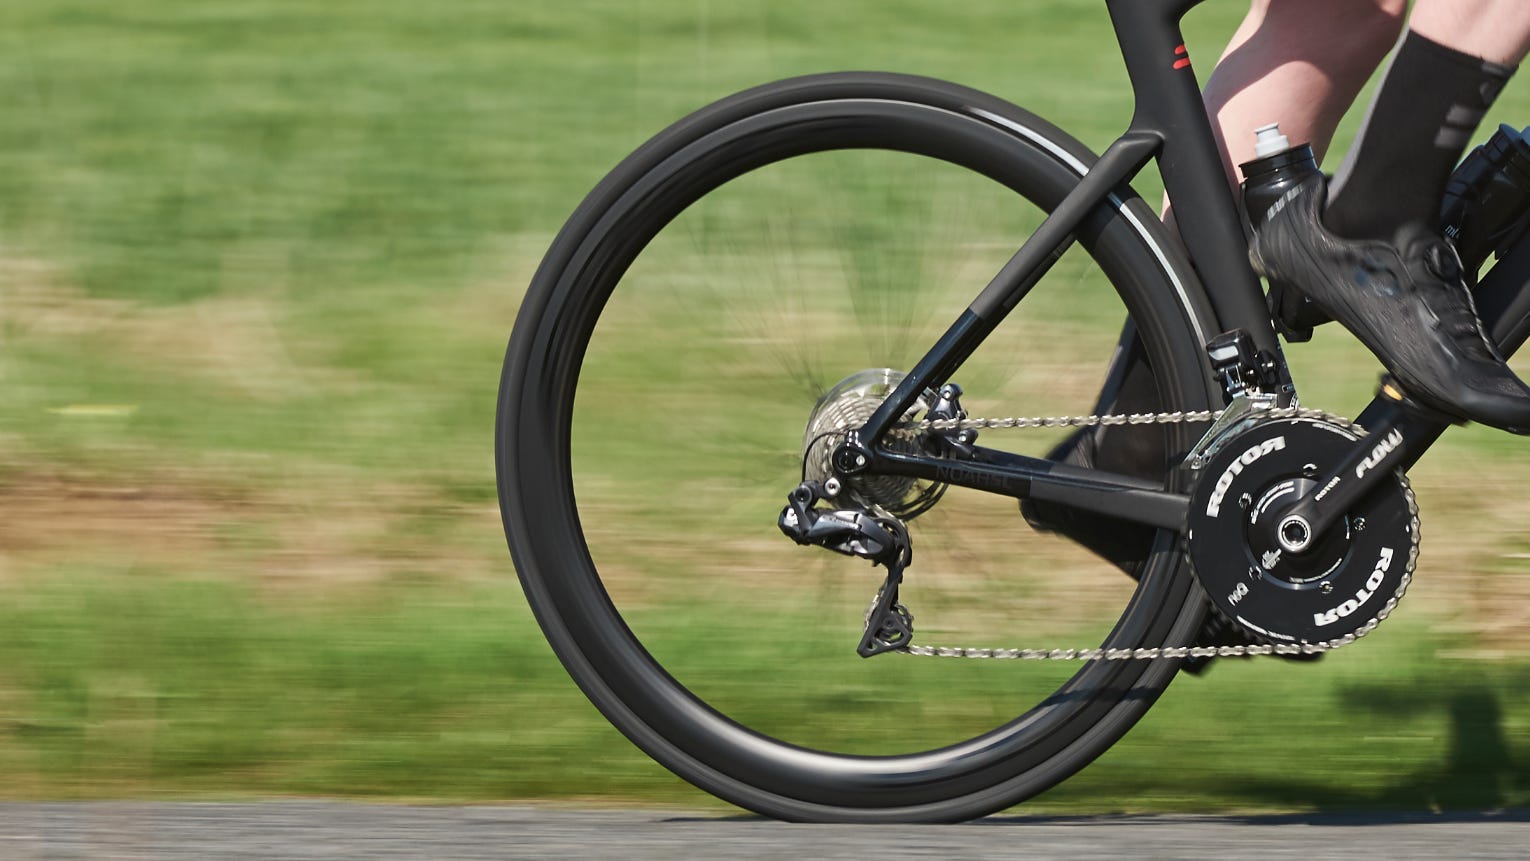
Bearings
The key parts when it comes to actually making your bike roll, the bearings in your hubs should be checked and maintained pretty regularly, especially when the weather’s bad and you’ve been riding in the rain a lot.
What that maintenance entails will depend on what brand your hubs are, but most are relatively easy to service yourself, just check the manufacturer’s instructions. If the bearings are shot, though, getting them replaced by a shop is your best bet as that can be a tricker and more time-consuming job.
You also need to keep an eye on your bottom bracket bearings, as they’re another place where riding in bad weather and general wear can take their toll. The bottom bracket is what allows your cranks to rotate and lets you move the pedals. As your bearings there wear out then the cranks don’t move as freely, pedalling gets harder and you can even start to damage components due to the increase in friction. One quick way to test the bearings it to drop the chain off the crankset and give the cranks a spin to see how freely they move. If there’s any resistance or noise then it’s time to give it a service (but ideally it shouldn’t get to that point in the first place).
The other place with bearings is your headset, that’s the part that lets your handlebars turn. There is one set of bearings just under the cover below the stem, and another the rests on the crown of your forks at the bottom of the head tube. Again, check them semi-regularly to make sure everything is moving freely and there’s no noise - which is a sure-fire sign of wear.
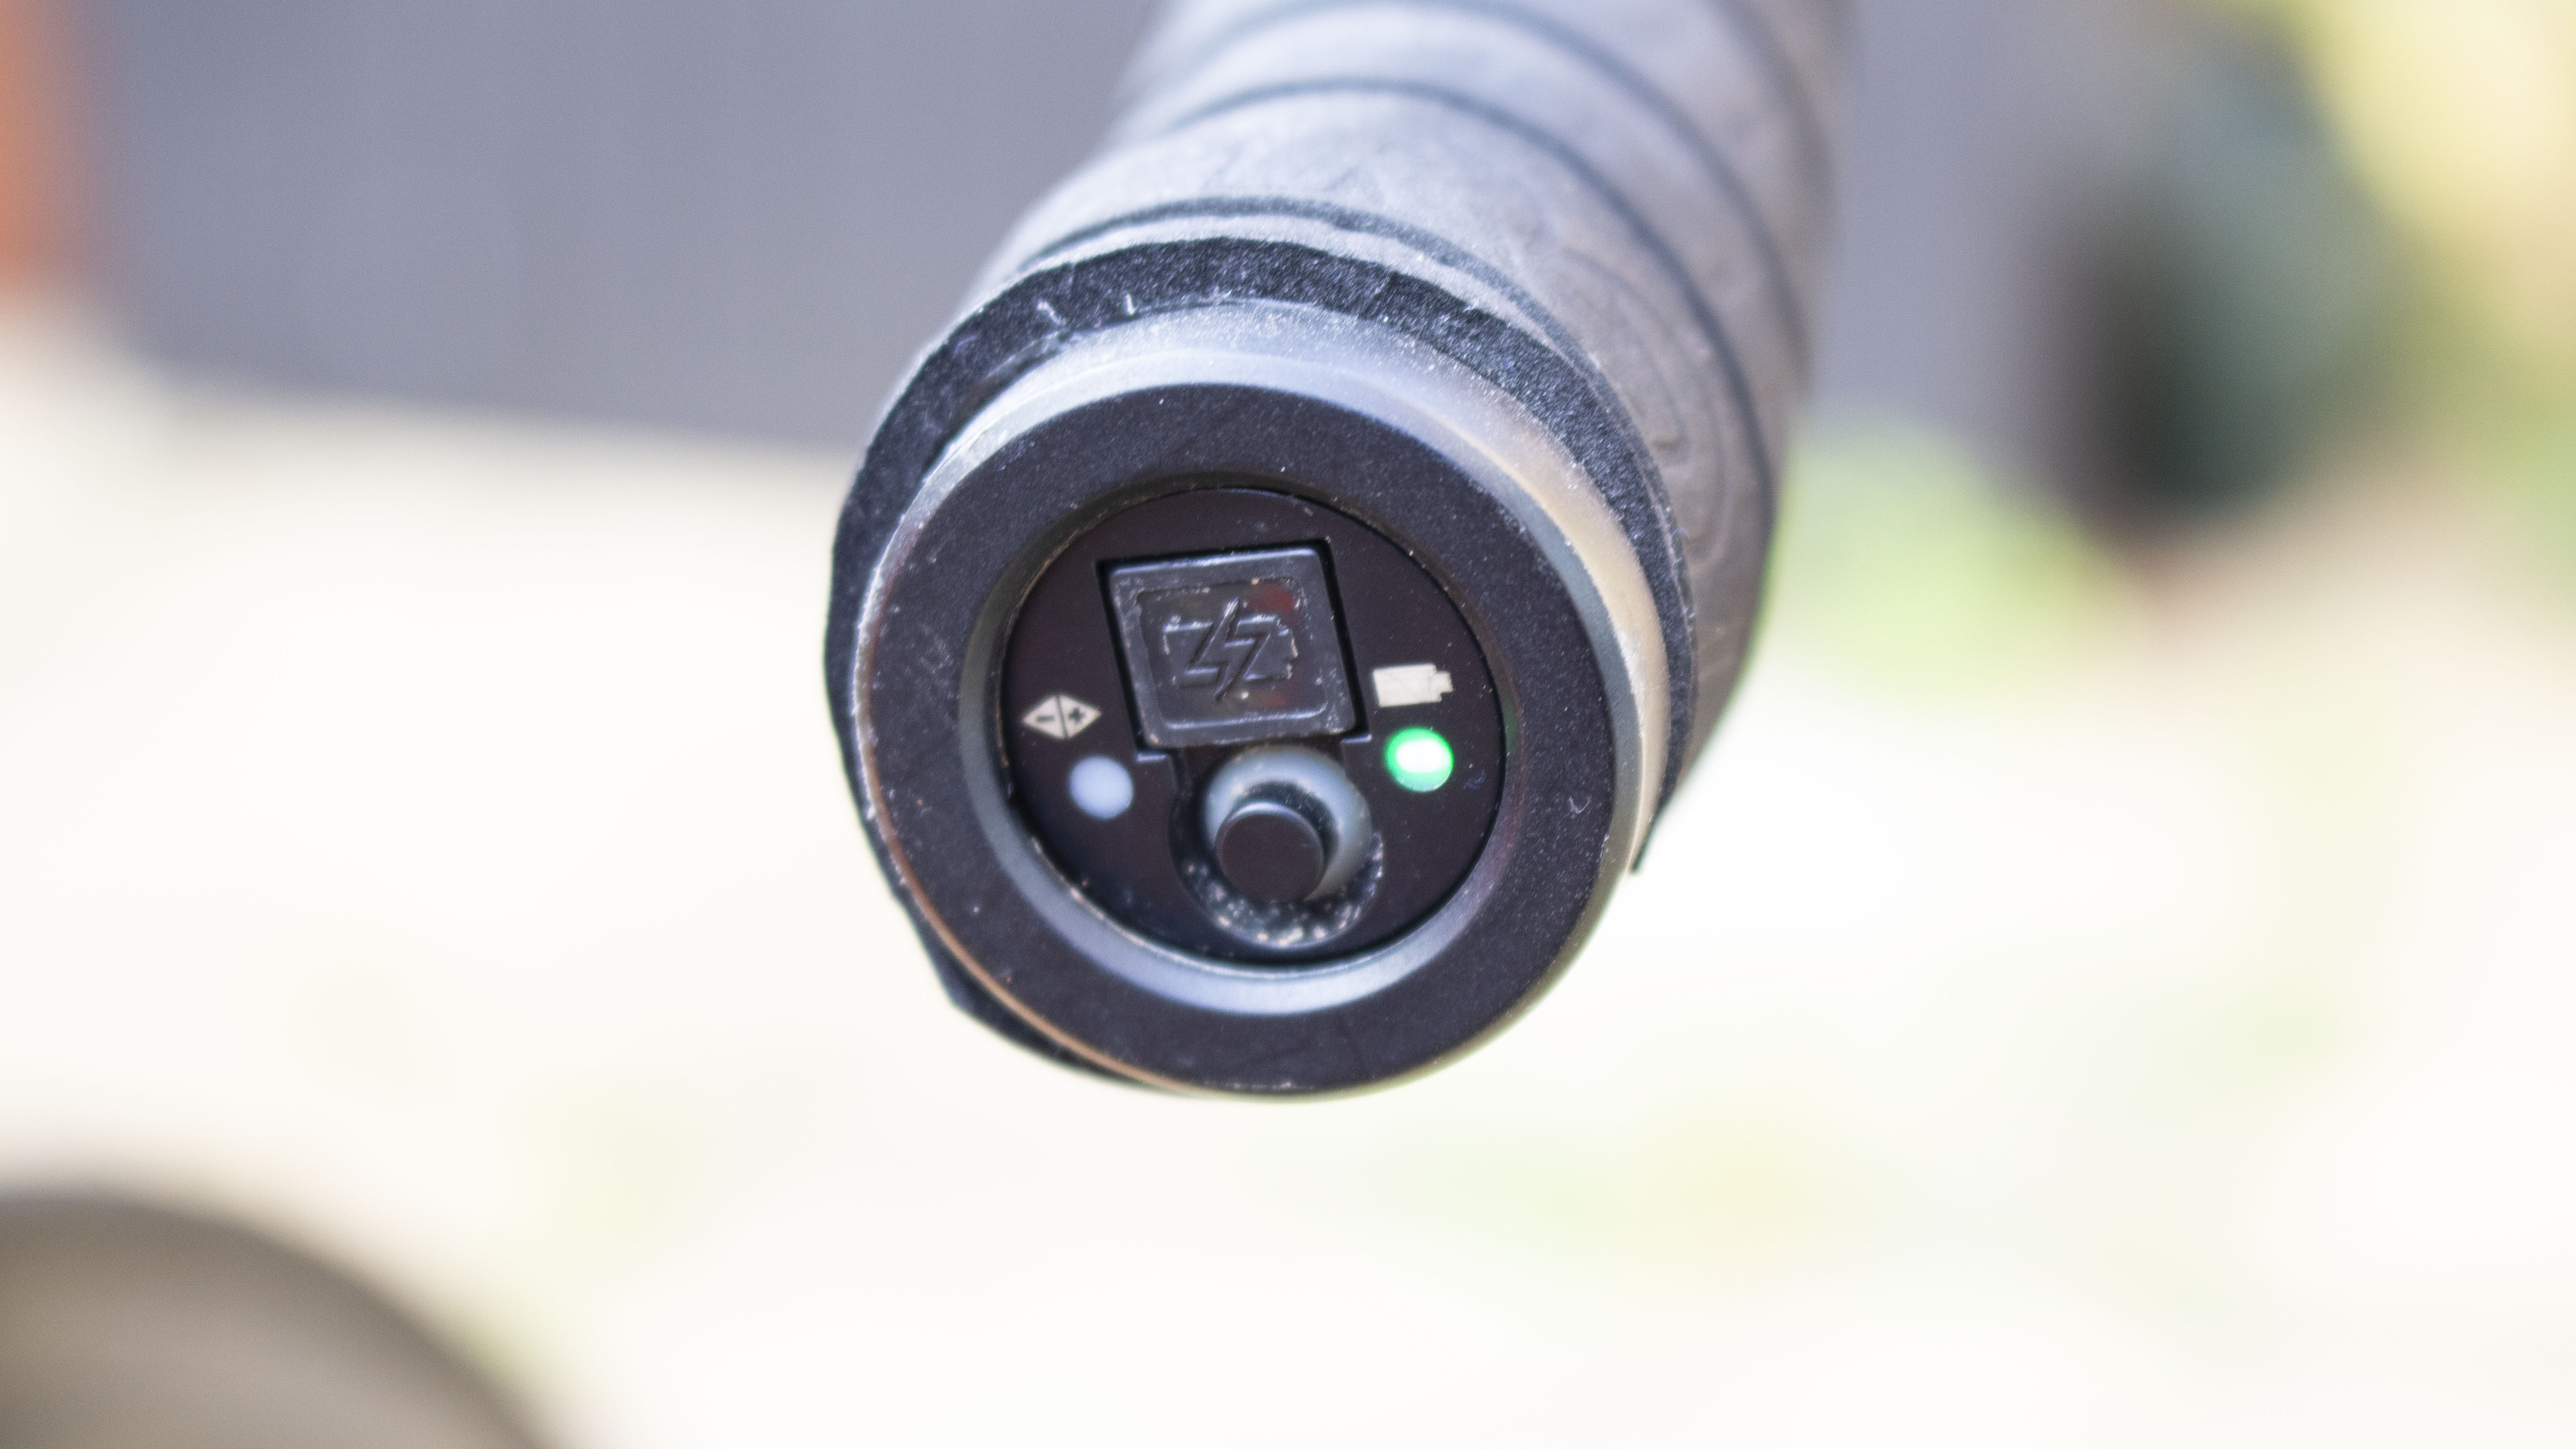
Di2 charge level
Di2 is amazing in so many different ways, and one of the main aspects is just how long your bike can go between charges. The thing is, that can also backfire sometimes as it lures you into forgetting to check the charge level every now and then and the natural conclusion of that complacency is going out for a ride and running out of power.
Now the good thing is that Di2 has a built-in failsafe against human idiocy where when the battery level gets critically low it shuts of the front derailleur (if you have one) and gives you 500 remaining rear shifts to get you home. But still, it’s a bit embarrassing and you don’t want to get stuck in the big ring if you live somewhere rather hilly.
You don’t need to check Di2 charge often, once a month will do, but you’ll be glad you have when you see that LED flash red and dig out the charger.
We Recommend


-
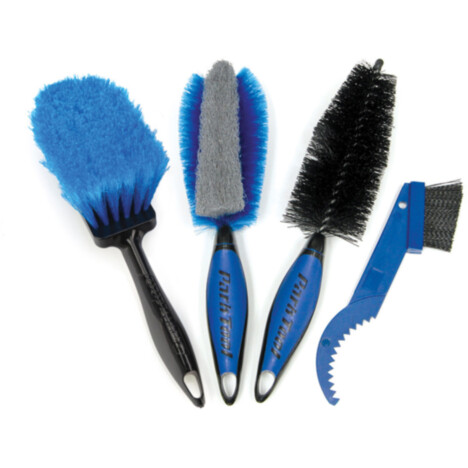
What you need to clean a bike
Cleaning your bike is a pretty easy task, but one made even simpler by using the right things. Here's our guide to keeping your pride and joy sparkling -
Everything you need to fix a puncture
If you're worried about punctures, here's a short list of everything you need to make sure your ride isn't ruined