How to service DT Swiss star ratchet hubs
Servicing DT star ratchet hubs is suprisingly easy. Here's a guide to how to maintain your DT freehub at home.
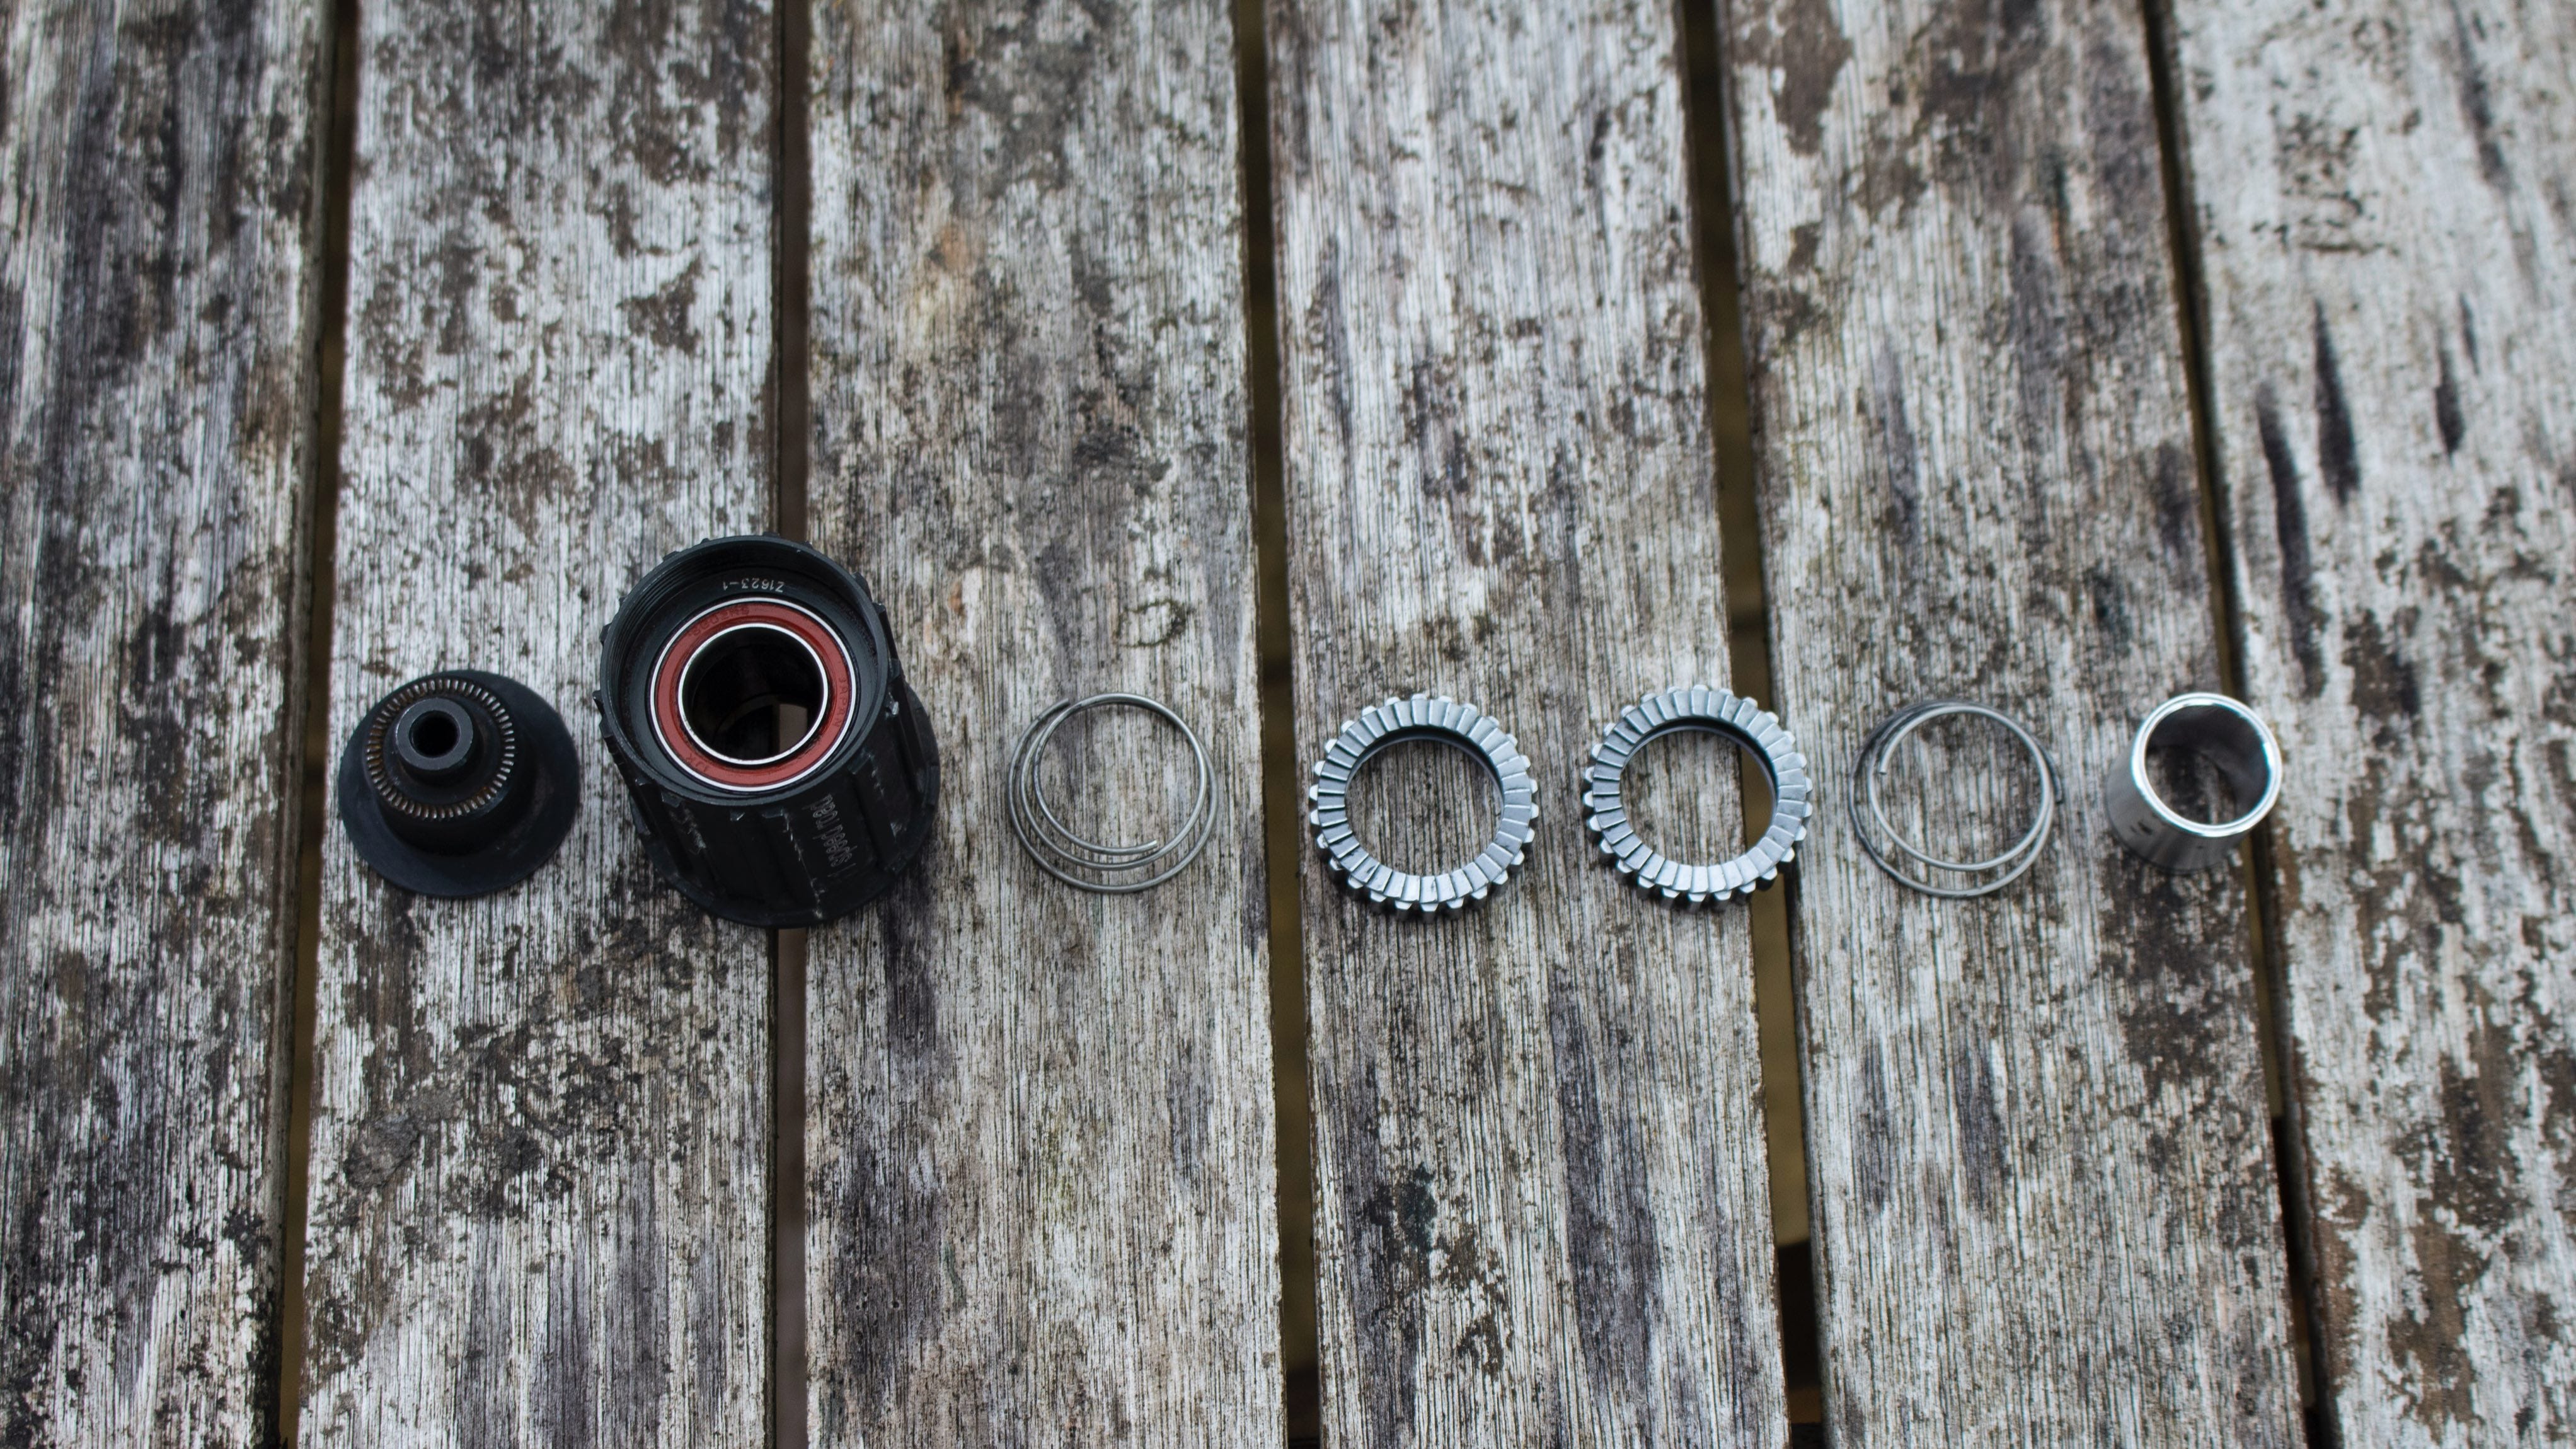
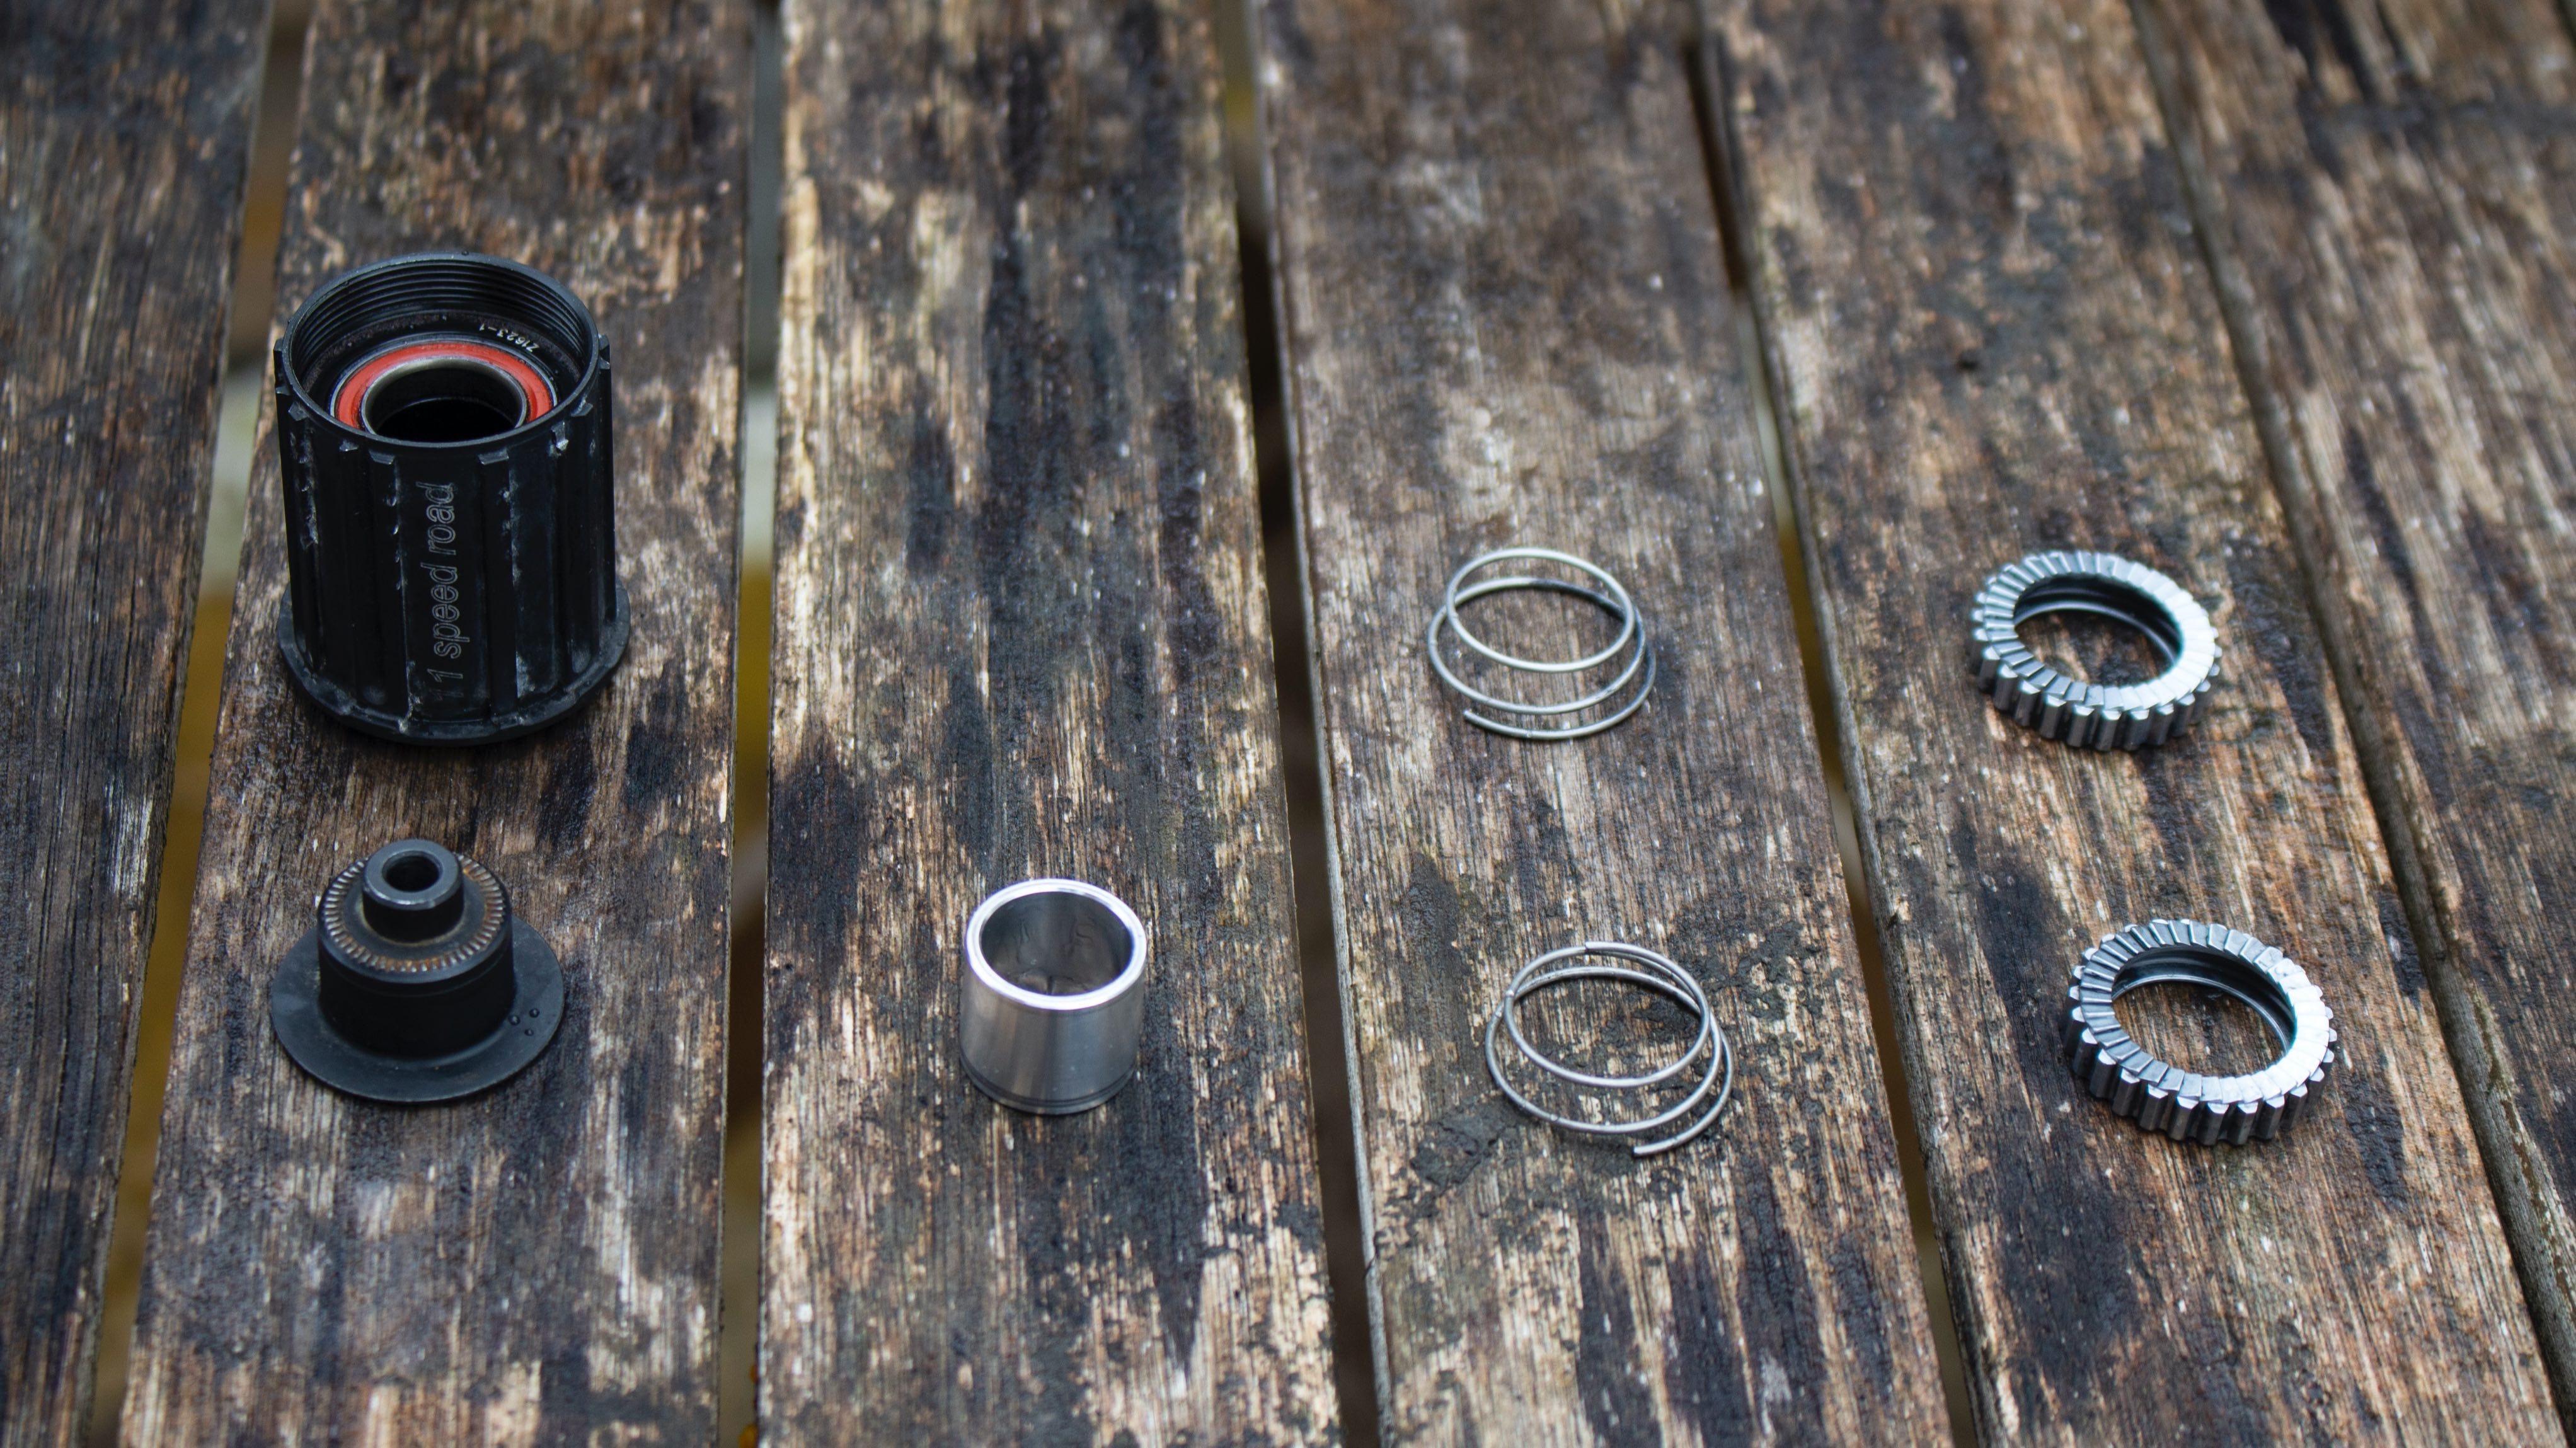 These are all the pieces that you need to remove to maintain your DT Swiss freehub
DT Swiss is one of the World’s best respected hub manufacturers, and for good reason. Their hubs are reliable, light, strong and easy to service.
The star ratchet system DT uses in their 350, 240 and 180 rear hubs is remarkably easy to service, and that’s what we’re going to focus on here. This is for the original star ratchet hubs, not the new Ratchet EXP, DT’s update to the design that were released last year. Ratchet EXP is extremely cool, though, and is a smart update to an already iconic hub design. You can check out all about Ratchet EXP at the bottom of this article.
When you take the hub apart you’ll notice that it doesn’t contain too many pieces and isn’t anywhere near as fiddly as a pawl driven hub. You basically have an end cap, the freehub body, two star ratchets, two springs and a thread ring. That’s it. Plus they all go onto the axle in a logical order so there isn’t much chance of messing things up. Obviously there are bearings as well (four sets, since you asked), but you don’t need to touch those to service the freehub. The hub we've used here is a 240 from a PR 1400 DiCUT OXiC wheel, it's been ridden pretty hard but just look at how well the components inside have held up (incidentally, the OXiC wheels are some of our very favourite. Check them out on DT Swiss's website here).
Step one: take it apart
Removing the DT freehub requires no tools at all, you just pull off the end cap and the freehub slides off the axle. However, depending on how strong your hands are/how clean your wheels are it might be easier to clamp the end cap in a vice and remove it that way (making sure you clamp with sensible force and don’t wreck the end cap in the process - you laugh, but it happens).
Once that’s done then everything slides off easily in order. Put them down somewhere safe and don’t lose any pieces (again, it happens).
Step two: cleaning
There’s a good chance that if you don’t regularly maintain your hubs, then everything inside will be pretty filthy. So clean everything until it’s sparkly and nice. Most of it will likely only require a wipe with a cloth, but you want everything nice and clean for the new grease you’re going to apply.
Step three: greasing and re-assembly
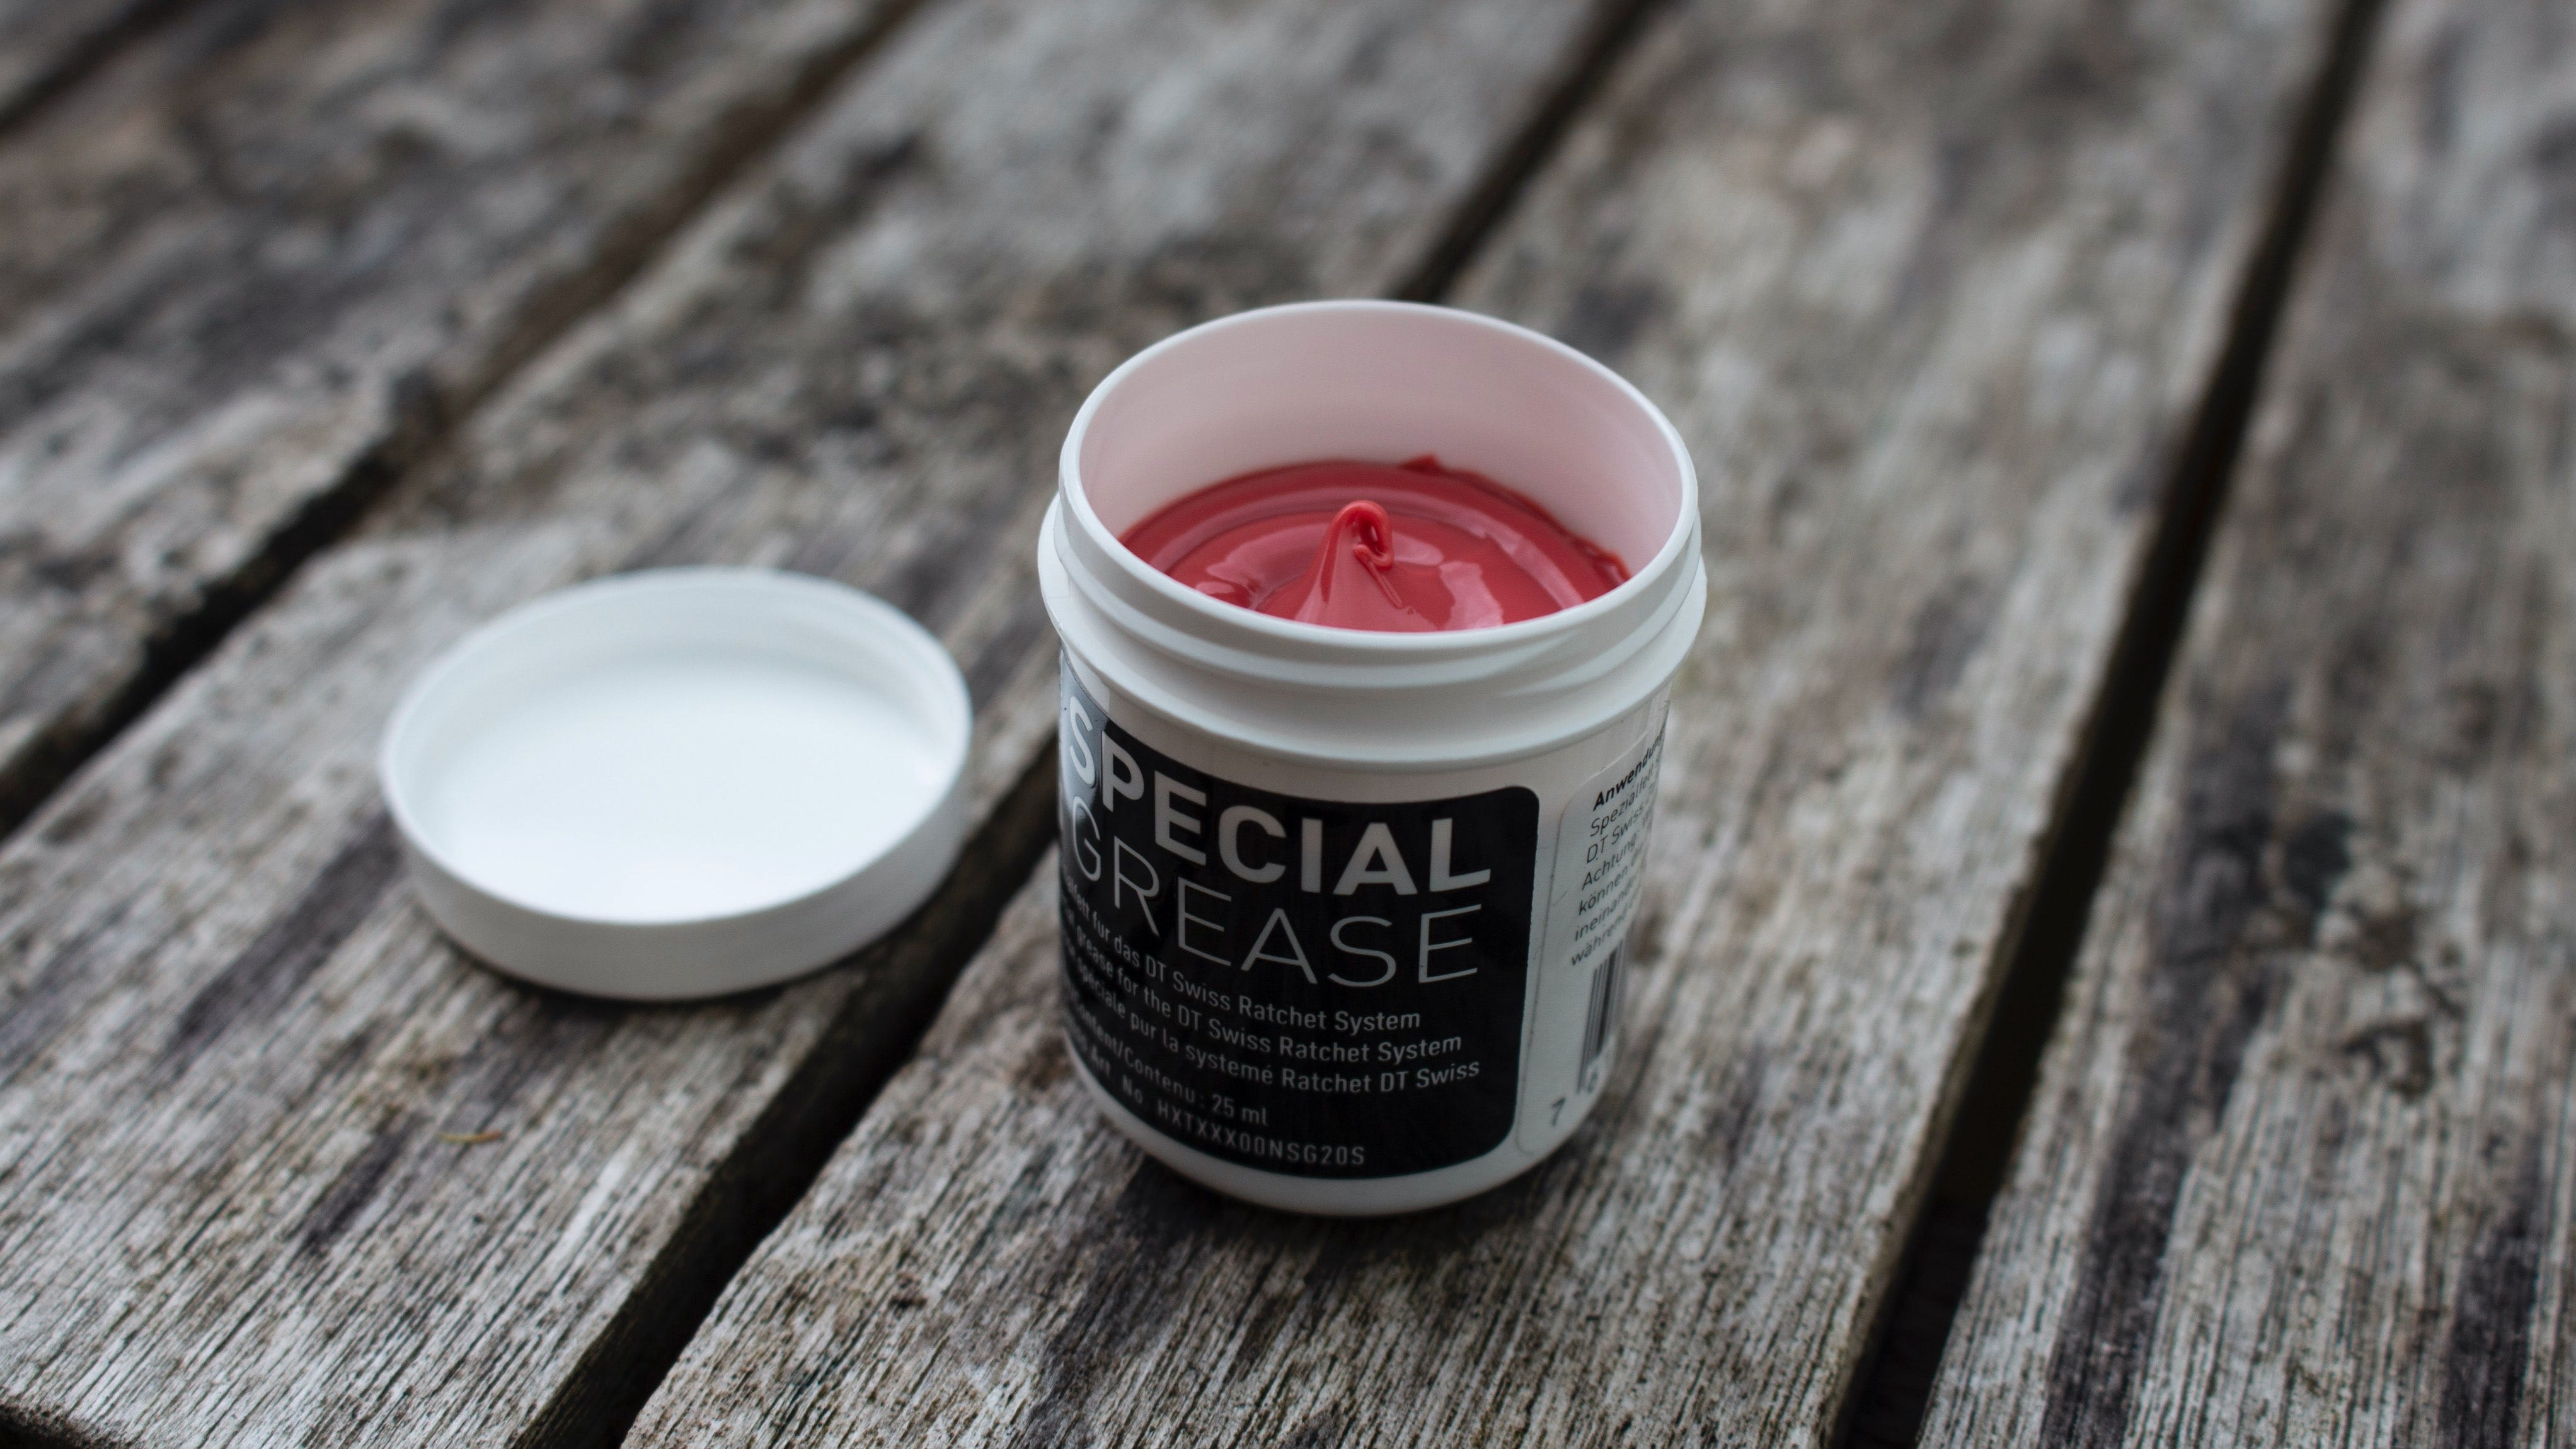
Using DT’s own Special Grease lightly grease the teeth inside the hub shell and inside the freehub body. Don’t go crazy, you don’t need to use too much, just enough to get a good coating on all the teeth. Then apply a little to the first spring and replace it back into the hub shell wide end first before adding the Thread Ring.
Next up you grease the second spring and spring and replace it in the freehub body, again with the wider end going in first.
Now we’re onto the ratchets. First of all, grease the teeth that face each other and then put the two ratchets together. This is the important bit. Make sure that those two sets of teeth are facing each other otherwise the Freehub won’t engage, your hub won’t work and you’ll feel like an idiot before having to take the whole thing apart and put it back together properly.
When you have the two ratchets together and facing each other, coat the teeth around the outer with grease and slide them onto the Thread Ring sitting on the axle. Then slide the freehub body onto the axle, replace then end cap and there you go: one serviced freehub.
If you want a more visual guide, then check out DT Swiss's own instructional video below:
For the nerds: Ratchet EXP
Ratchet EXP is DT’s update and refinement of their ratchet hub system which saves weight and increases durability. Basically, Ratchet EXP uses a single spring and ratchet, with the other half of the ratchet system built into the hub shell. This makes the whole system lighter since you’re essentially removing the weight of a spring and a ratchet.
On top of that, the revised system has allowed DT Swiss to increase the distance between the bearings in the new hub, increasing hub stiffness by 15% and all Ratchet EXP hubs come with a 36t ratchet as standard and can be upgraded to a 54t if you’re after the fastest hub engagement possible.
You can see what that looks like in this video:
-
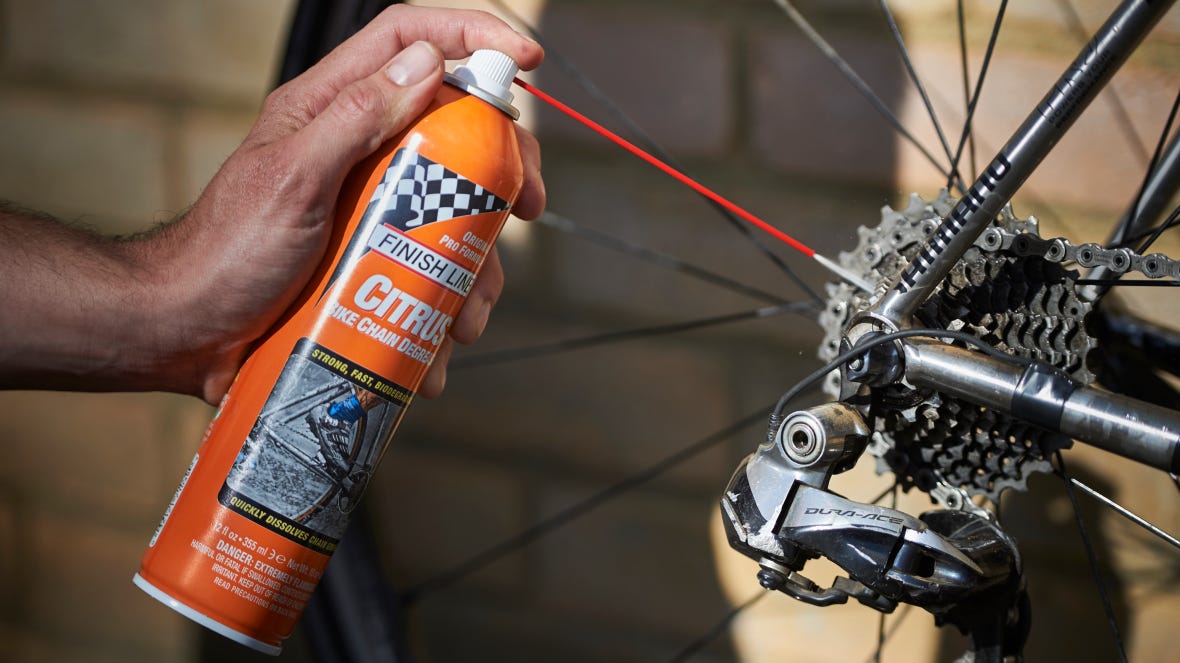
What you need to clean a bike
Cleaning your bike is a pretty easy task, but one made even simpler by using the right things. Here's our guide to keeping your pride and joy sparkling