Categories
How to fix a puncture
If there’s one skill that it’s fundamental to master as a cyclist, it’s the ability to fix a puncture. That’s because, just like death and taxes, punctures are one of life’s inevitabilities when you ride bikes. You might go for months without one, maybe even years, but eventually misfortune will catch up with you and you’ll get a puncture. Just hope that when you do it’s not in terrible weather…
Anyway, being able to fix a puncture is one of those skills that makes you self-sufficient when you ride, and stops your friends and relatives from not picking up the phone when you call because they think you’re asking for a life home. Again.
A few years ago, explaining how to fix a puncture was a far simpler task than now because almost everybody ran tyres with inner tubes, and getting going again was a matter of either patching or replacing said tube before riding off into the sunset. But now that tubeless is a thing, there’s a variety of different methods to puncture survival, and we’ll go through a few below.
Repairing punctures running tyres with inner tubes
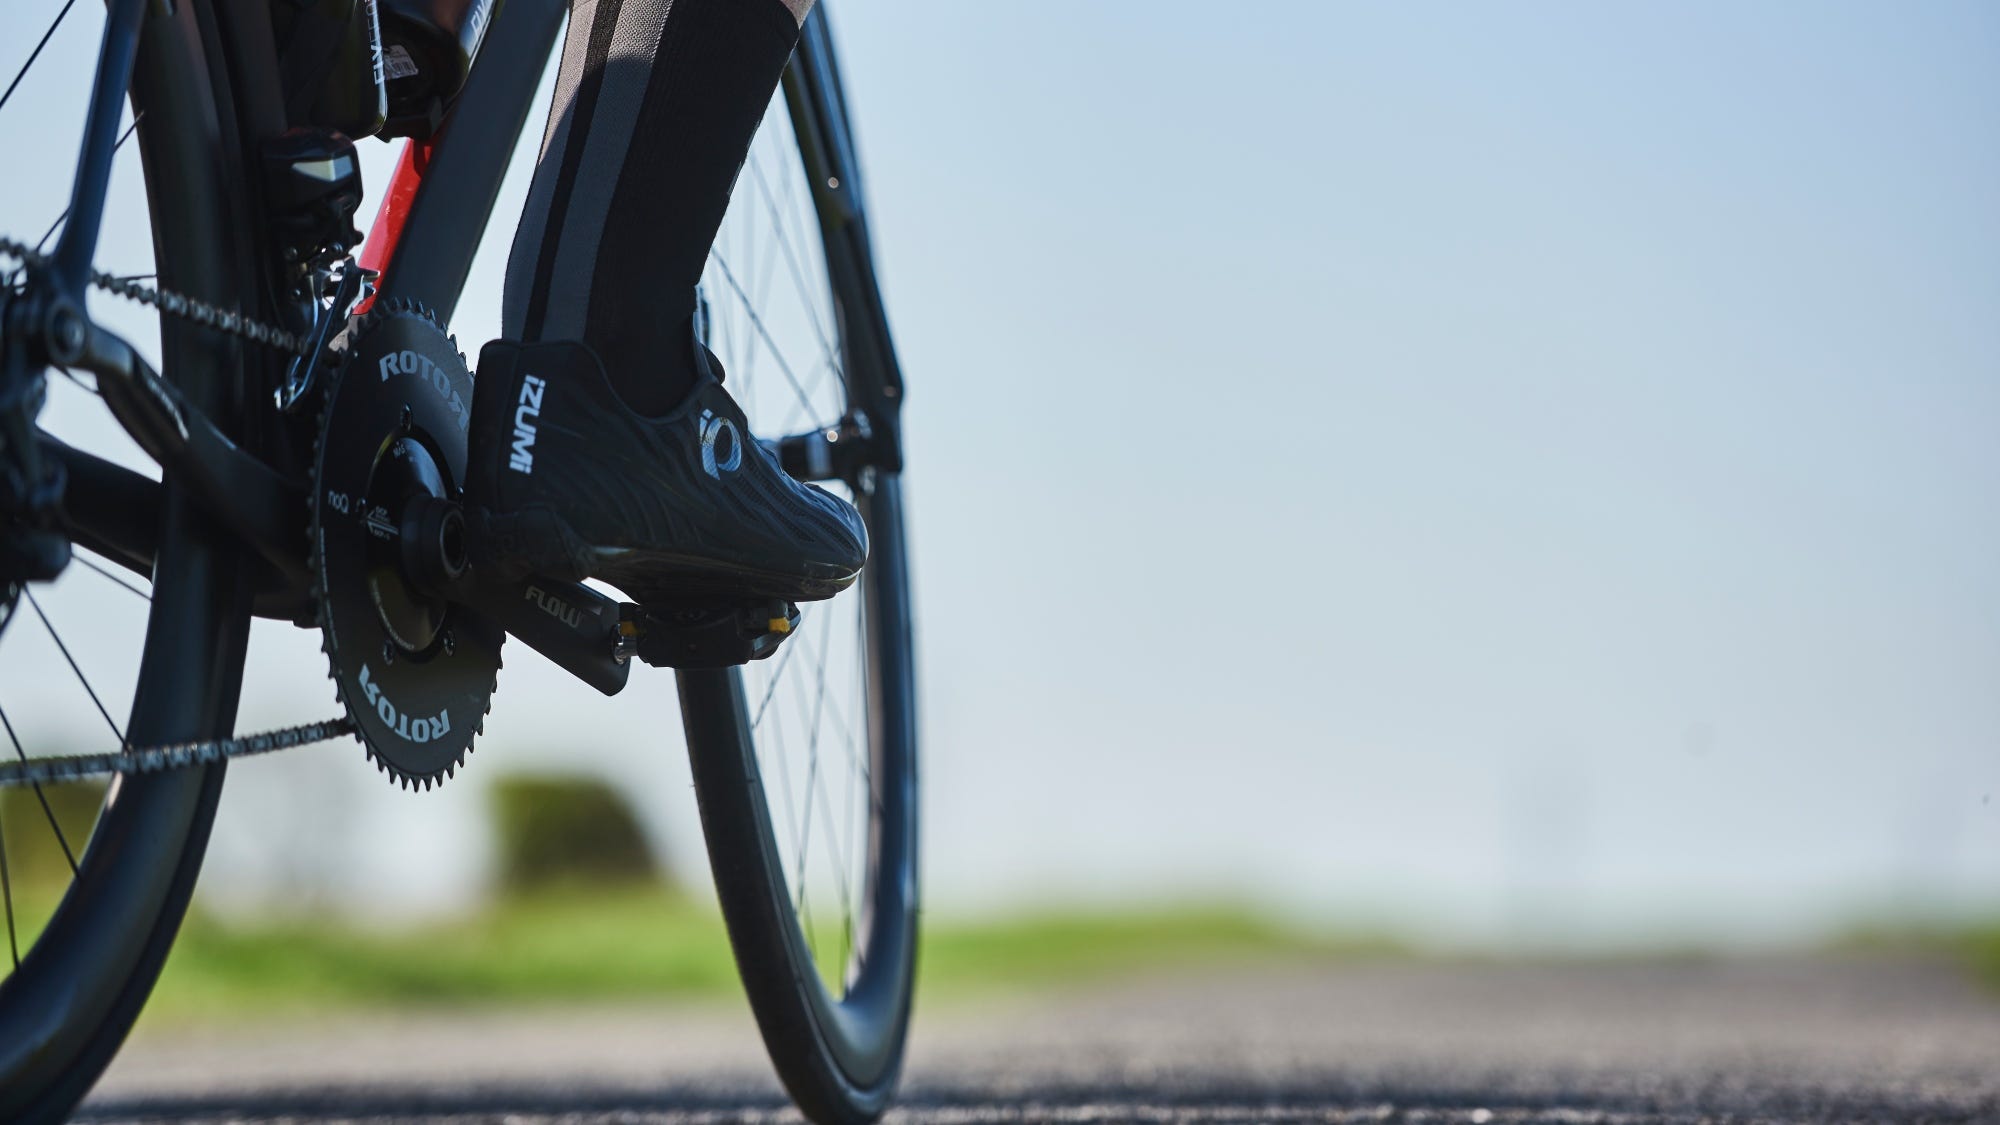
Unless you’re a mountain biker, using inner tubes is still by far the most common way to inflate bike tyres. Inner tubes are great because they’re simple and you can just take a punctured one out and replace it with a new one, which can make getting going again a task that takes under 5mins with a bit of practice.
Step one to fixing a puncture is finding the puncture. When you’re running tubes it’s useful to figure out where the puncture is before you remove the tube because it’s quite hard to find a small hole in the large, relatively amorphous deflated mass that is a removed tube. Look over the tyre casing and see if you can find whatever caused the problem, then remove the tube making sure that you keep a hand on the section that's punctured according to where you found the hole in the tyre.
Step two is to check the tyre over. This is really important and forgetting to do it can mean you’re just going to puncture 10 metres down the road because that same piece of glass is still sticking through the tyre. Figure out what caused the puncture and remove it. If its bad, you might need to put a tyre boot to cover the hole in the tyre – there should be one in your puncture repair kit, or alternatively you can use the instruction sheet that came with it, a used gel wrapper or even a fiver – basically anything that stop stuff coming through that hole in the tyre and piercing the inner tube.

Step three is to fix the tube. This is actually pretty easy and done in a few simple steps:
- - First off, roughen the area around the hole with the small piece of sandpaper in your puncture repair kit. This helps the rubber solution (the stuff in the tube) grip the tyre better.
- - Next, put small amount of the rubber solution onto the tube and spread it around to cover a small area over and next to the hole. You can use your finger to spread it, that’s fine.
- - This is the important bit: wait for 30-45secs before applying the tube patch. The solution gets tacky as it dries, so if you put the patch on straight away it wont stick.
- - Finally, apply the patch and hold it in place for a minute or so to make sure it’s stuck firm.
Then just put the tube back in the tyre, inflate, and you’re good to go. Done properly, a fixed tube should last, well, until you next puncture. Then you patch and go again. You can get away with patching a single tube a huge number of times, so dont be that guy that just throws used tubes away every time you puncture, there's just no need for it.
Repairing punctures on tubeless tyres
Fixing a puncture on a tubeless tyre was one of those things that presented a problem to early adopters of tubeless. Sure, not running tubes meant that you could write of those annoying pinch punctures (not tube to pinch, no puncture, simple). But fixing a hole in a tubeless tyre in a way that meant it could hold pressure was a challenge.
The first method to try and get around this was sealant. Looking past its puncture-prevention abilities, sealant is important because it helps seat your tubeless tyres in the first place and seals all the edges so no air can escape from the system. But here’s the thing to remember about sealant no matter what people tell you: it’s not perfect. Just like with inner tubes, there will be some punctures that are bad enough that sealant just can’t fix them, and those are the days you’ll be walking home or asking someone very nicely to pick you up.
Having said that, for most small punctures sealant is brilliant because it can fix them without you even knowing that it’s happened. It’s incredibly simple, too, just put the sealant in the tyre then go and ride – just make sure you put enough in the tyre in the first place. It’s also a good idea to use something like milKit’s tubeless valves because you can use the syringe to check the sealant level without removing the tyre and having to re-seat it.
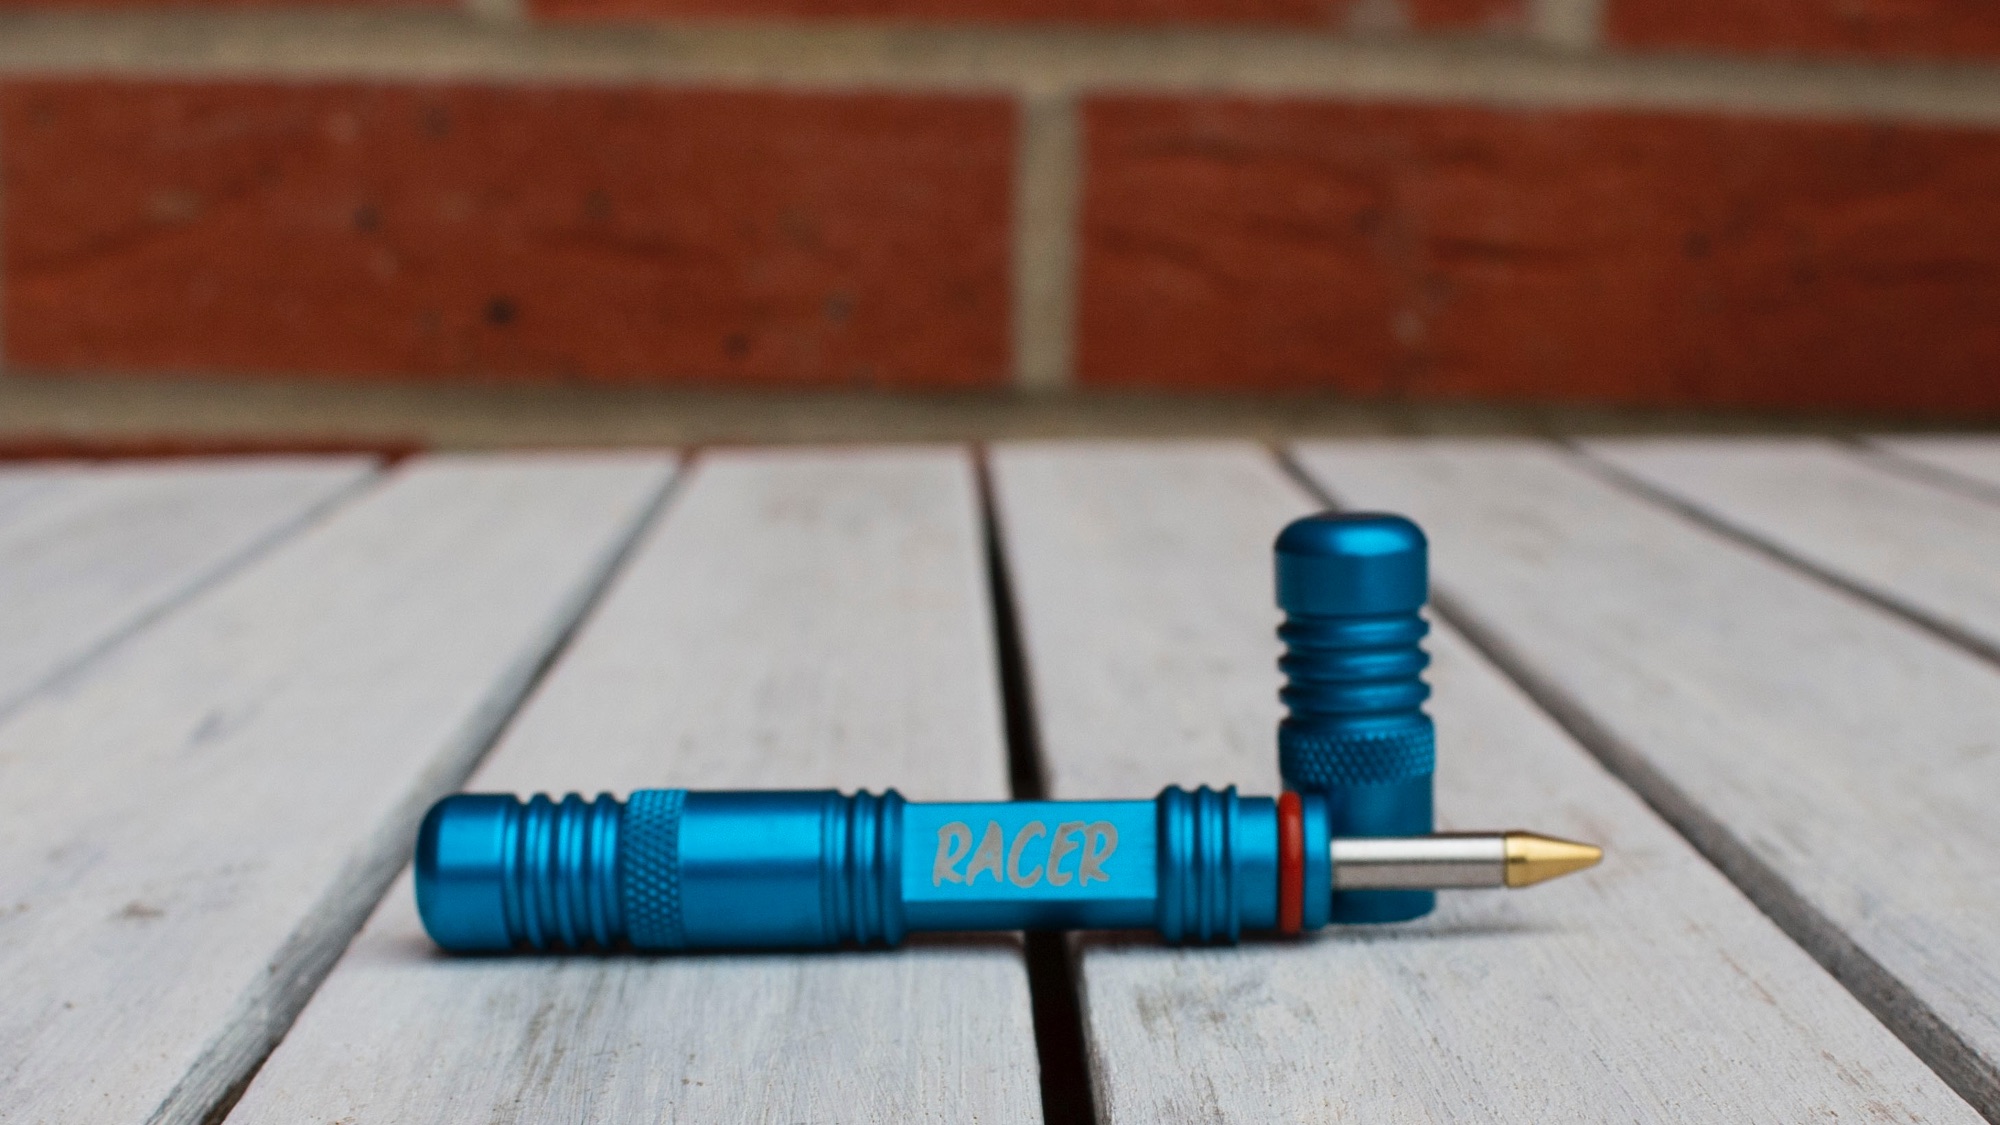
For those times that sealant on its own isn’t enough then Dynaplug is your best friend. Another wonderfully simple thing to use, with Dynaplug all you need to do is find the hole in the tyre, insert the Dynaplug in, then pull it out and the viscoelastic core will stay in the tyre and seal the hole. Then just re-inflate the tyre and ride. Fixing tubeless punctures has never been so easy.
We Recommend
-

 Maxxis FlyWeight Road Tubes£12.99